|
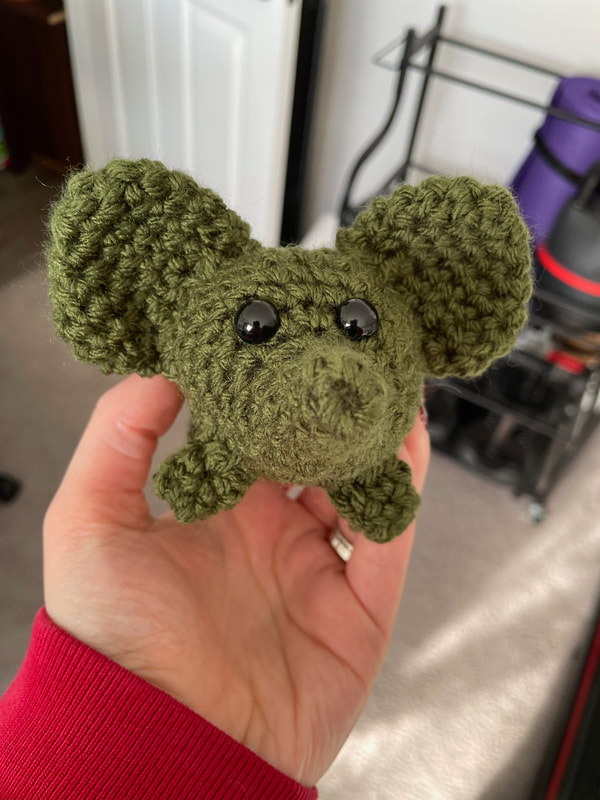
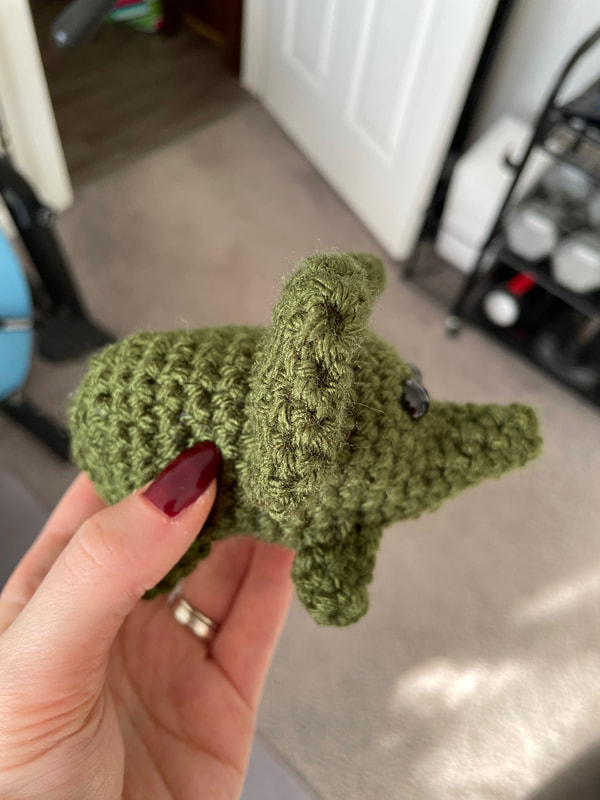
Happy Sunday everyone! I hope you are all doing well. Today I wanted to share my initial experiences trying amigurumi, which is a Japanese style of crocheting small stuffed animals or creatures. I have been getting pretty comfortable crocheting flat pieces and have been wanting to try my hand at some more complicated patterns. My best friend got me a Harry Potter crochet kit and book for Christmas that I was very excited to dive into, but found that it was a bit too advanced for my skill level at the time. Recently, my husband bought me a Woobles beginner crochet kit, also of Harry Potter, and I feel like that kit really helped the pieces fit together for me in terms of crocheting in the round and crocheting 3D pieces. Here is my little Harry Potter I made with that kit! 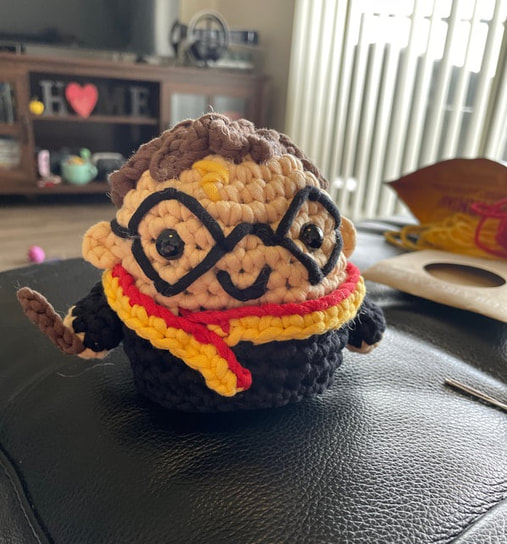 I feel like when I go back to the Harry Potter book my best friend gave me, I will now be much better equipped to take it on! After completing the Harry Potter Woobles kit, the next project I embarked on was some small animals. I have a friend who is pregnant and she mentioned that their nursery theme would likely be animal/jungle-ish so I wanted to try crocheting some cute little things for them. (I won't share pictures of those here, just in case she happens to read this!) Some of the animals I have tried out so far have been penguins, elephants and whales. Here is an elephant that I crocheted for my mother:
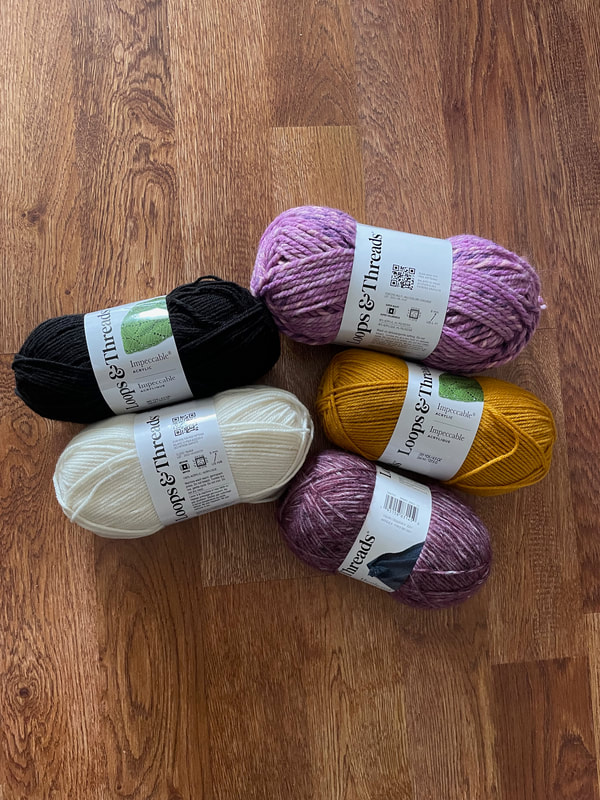
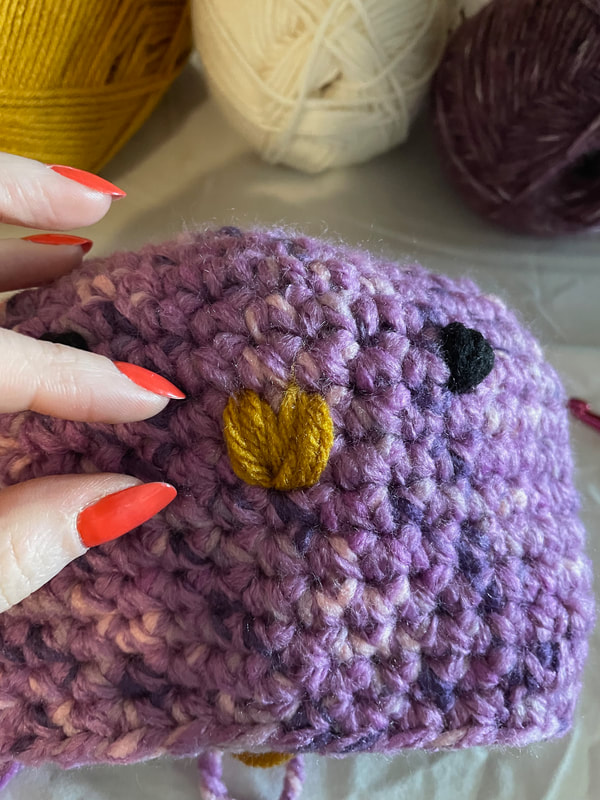
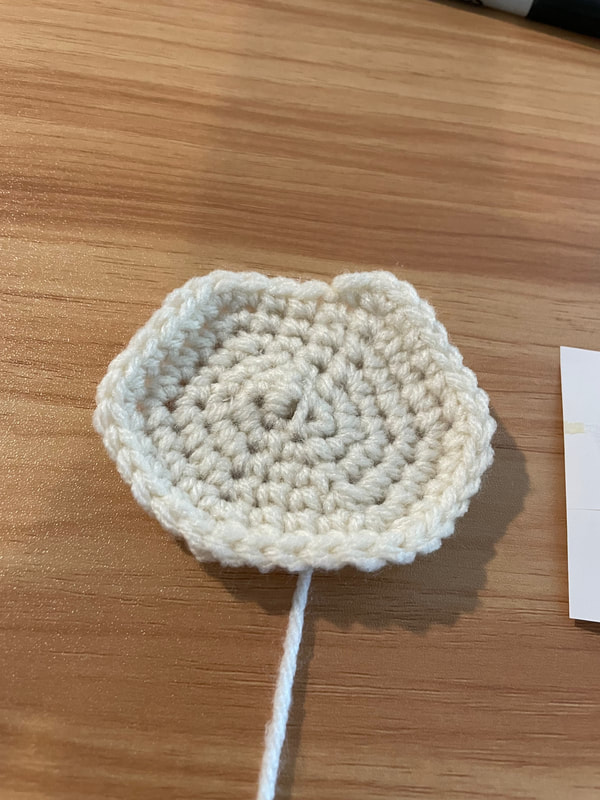
This is the pattern I used for the elephant for anyone who might be interested, although I did change it slightly: www.mariskavos.nl/free-elephant-crochet-pattern/ The elephant was probably the most complicated of the ones I have tried, but I have found penguins to be the easiest as they are basically a big oval with some additional pieces added on! I wanted to try my hand at altering the penguin crochet pattern I had been using thusfar to make a slightly chunkier and rounder penguin. I also wanted to try following this pattern using different weights of yarn to show you all how much of an impact your yarn makes in terms of the size of your final project. The pattern that I have made a few times and decided to alter slightly can be found here: www.roseandlilyamigurumi.com/2021/10/crochet-chubby-penguin-free-crochet.html?m=1 For any who might be interested in trying out my altered pattern, I will share that below! I wanted to try and make it fairly simple and only use basic stitches. I also wanted it not to include changing yarn while crocheting, so any different colored pieces are crocheted separately and sewed on. I want to say here that I don't believe I am good enough yet to give a tutorial on how to do different crochet stitches; what I will do is give a quick glossary of any abbreviations I use so that you can find a tutorial that works for you and helps you learn the necessary stitches! SC - Single Crochet MR - Magic Ring INC - Increase DEC - Decrease You will also need to know slip stitch. You will also need to know a chain stitch if not using a MR. Body R1 - 6 SC in a MR (or chain 2 and do 6 SC into the first chain if you struggle with a MR) (6) R2 - INC x 6 (12) R3 - (SC, INC) x6 (18) R4 - (2 SC, INC) x 6 (24) R5 - (3 SC, INC) x 6 (30) R6 - (4 SC, INC) x 6 (36) R7 - (5 SC, INC) x 6 (42) R8-16 - 42 SC If using safety eyes, attach between rows 10 and 11, 7 stitches apart. If using black yarn to sew eyes, sew over the 10th row of stitches, 7 stitches apart. Sew nose 1 or 2 rows below eyes, in between eyes and over 2 rows of stitches, in a triangular pattern. R17 - (5 SC, DEC) x 6 (36) R18 - (4 SC, DEC) x 6 (30) R19 - (3 SC, DEC) x 6 (24) Partly stuff. R20 - (2 SC, DEC) x 6 (18) R21 - (1 SC, DEC) x 6 (12) Finish stuffing. R22 - (6 DEC) x 6 (6) Fasten off with a slip stitch and use the tail to sew the hole closed. Wings x 2 R1 - 4 SC in a MR (or chain 2 and do 4 SC into the first chain if you struggle with a MR) (4) R2 - 4 INC (8) R3-R6 - 8 SC (8) Finish off with a slip stitch, flatten and sew open end together. Feet x 2 R1 - 4 SC in a MR (or chain 2 and do 4 SC into the first chain if you struggle with a MR) (4) R2 - 4 INC (8) R3 - (1SC, 1 INC) x4 (12) R4-R6 (12 SC) (12) Finish off with a slip stitch, flatten and sew open end together. Stomach R1 - 6 SC in a MR (or chain 2 and do 6 SC into the first chain if you struggle with a MR) (6) R2 - INC x 6 (12) R3 - (SC, INC) x6 (18) R4 - (2 SC, INC) x 6 (24) R5 - (3 SC, INC) x 6 (30) R6 - (4 SC, INC) x 6 (36) Finish off with a slip stitch, gently pull the piece into an oval shape without overstretching. Sew the stomach onto the piece, right under the nose. Sew the feet and arms onto the piece, making sure to place the wings low enough that they do indeed look like wings and not ears! Here are all the supplies/yarn I used for this project:
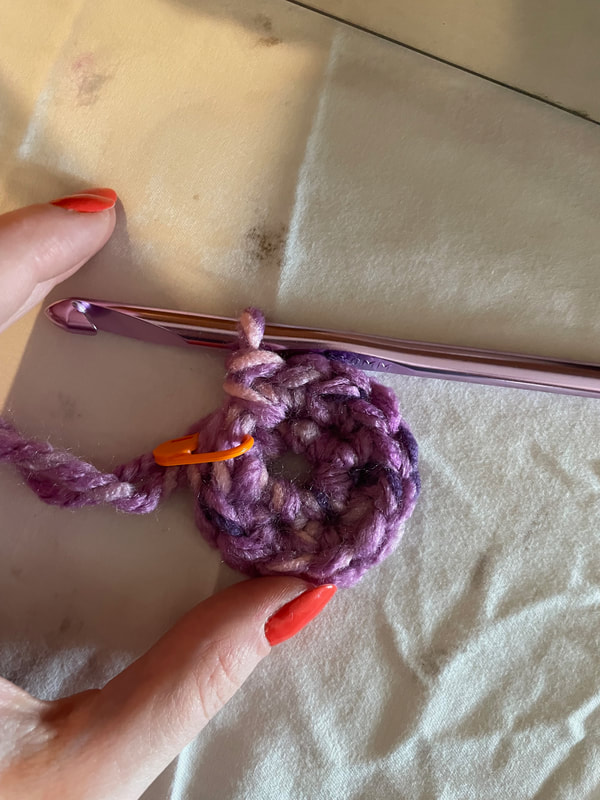
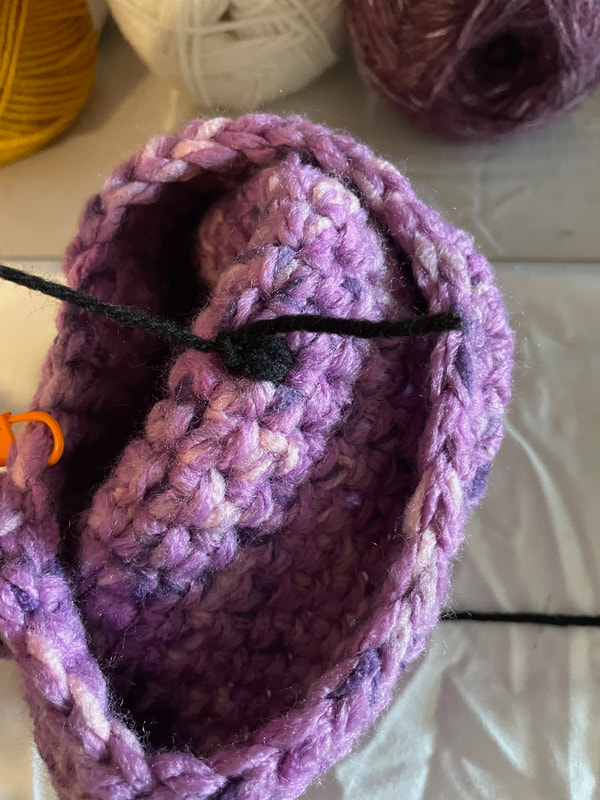
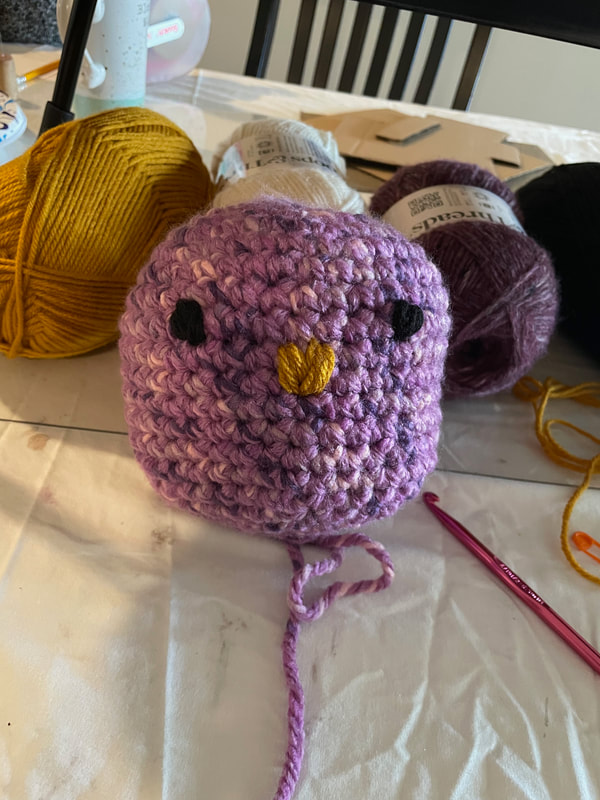
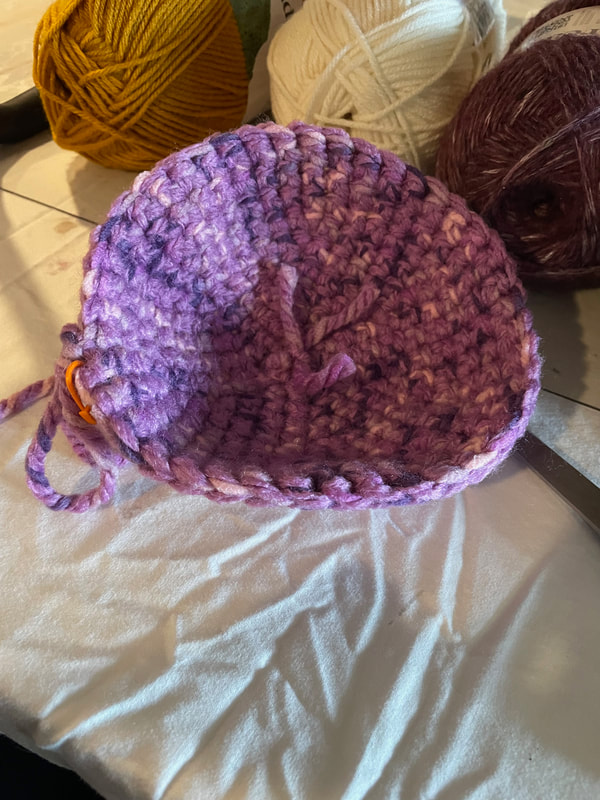
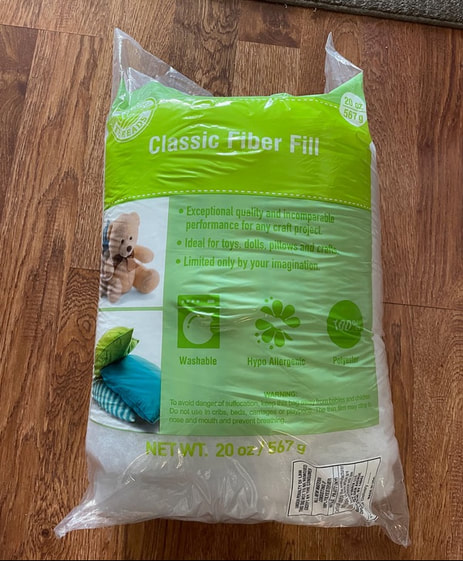 For my first penguin, I used the super bulky purple yarn as the base. I made the body and wings out of this yarn, used a yellow yarn as the nose and feet, white as the stomach and black to sew on the eyes. The yellow, white and black were not as bulky as the purple.  Here are some photos of various stages of crocheting this penguin!
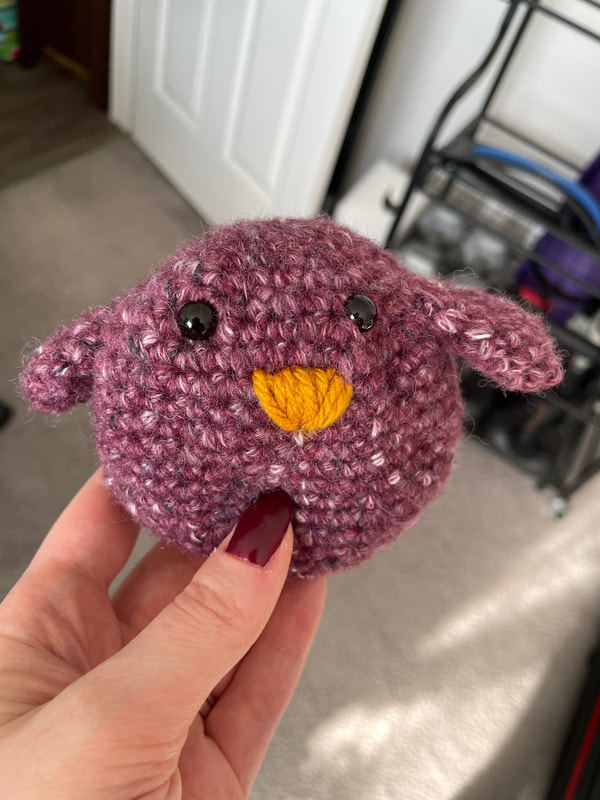
And here it is all completed! 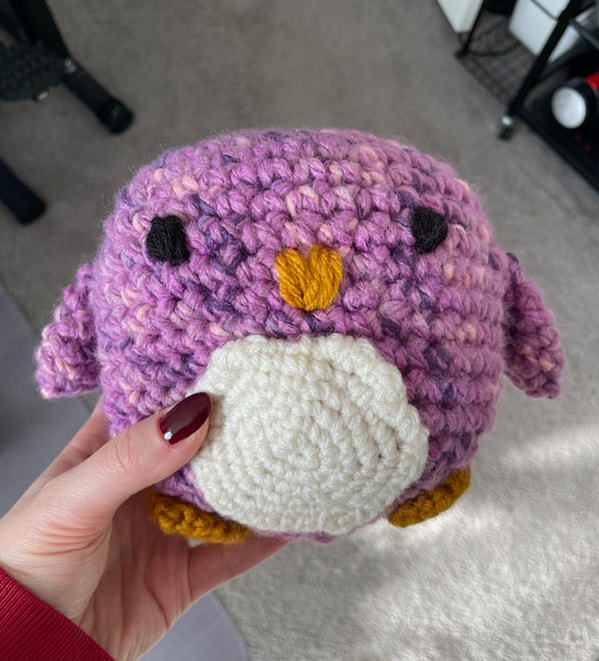 I love him! I then wanted to try the same pattern using a different weight of yarn to show you how much of a difference the size of your yarn plays in the final size of your piece. For this attempt, I used the smaller purple yarn I showed in the original picture of all the yarns above. This was a tweed yarn and I ended up figuring out that I would not recommend this type of yarn for amigurumi! It has a very thin and gauzy texture and I felt like it did not hold its shape well, meaning that my final piece was kind of lumpy and bumpy no matter how much I stuffed it. Once I realized that, I will admit I somewhat gave up on making this little guy look good and just completed it to prove my point about size differences based on yarn. I also used some safety eyes on this one to show you the difference that those can make. I like the look of the safety eyes, but if you are making something that might be near an infant/toddler or a pet, it's safest to simply sew on the eyes with yarn. If you are interested in safety eyes, you can buy a package of many sizes on Amazon for a good price. Safety eyes are essentially a little plastic screw that you push through the front of your piece, with another plastic piece you place on the back that locks everything into place. As I mentioned, I wasn't all the interested in this second penguin looking good (I kind of think he ended up looking like a puppy as I didn't listen to my own advice and made the wings look like ears) so ignore his general silliness and just focus on how much smaller he is than my first one!
I hope that was somewhat helpful to show how the same pattern can yield wildly different results based on the size of your yarn and hook!
I know this wasn't a perfect tutorial or introduction to amigurumi, but I hope it gave you all somewhat of an idea how it works and the kind of results you can expect to see when trying it out. I have been having so much fun expanding my crocheting knowledge and have been reminding myself that it doesn't need to be perfect every step of the way. I have been working on some other crocheted pieces and am hoping to have some things to add to the shop soon. If anyone happens to try this pattern and has any feedback about ways that I could make it better or clearer, feel free to drop those in the comments below. Talk to you all soon! - Rebecca P.S. Today's photo on the homepage is from Pexels user Anete Lusina: www.pexels.com/photo/crochet-needles-and-threads-on-windowsill-4792084/
1 Comment
Mama
3/3/2024 10:43:46 pm
I love my little elephant, Elias! Leave a Reply. |
AuthorI am a 27-year-old crafter and baker from New Hampshire! Archives
July 2024
Categories |


 RSS Feed
Proudly powered by Weebly