|
Happy Sunday everyone! I am back with part 2 of the IKEA cabinet upcycle we started last blog. I had shared my inspiration as well as the state the cabinet was in before I started. If you missed part 1, you can read it here: ikea-upcycle-part-1.html I started off by purchasing the pole wrap that I was going to use for the fluted wood effect. The pole wrap I bought was primarily MDF but had an oak veneer that could be stained. It could be bought in multiple sizes, but I bought a 4 by 4 foot piece as that is the size that would allow me to cut out my front panels each in one solid piece.
To cut in between the slats of the pole wrap, I was able to use a box cutter and it was very simple. The width of each door was 13 inches, but my piece ended up being a slightly smaller width due to the size of each slat. On the finished product, I don't think its too noticeable at all! To cut across the slats I used a hand saw and miter box. It ended up being a little harder to cut across the slats than I had originally thought, because of the thickness of the pole wrap when it was rolled onto itself. It took a few passes but eventually I made it through!
I ended up with a slightly jagged edge after the hand saw but I was able to clean it up with some sandpaper. I also ended up putting that edge at the bottom of the doors so it was less noticeable.  Then it was time to stain! I purchased this 2 in 1 stain and sealer in a color that matched some of the other wood tones in our living room. I ended up doing 2 coats of the stain and instead of just applying it to the veneer, I applied enough to let it sink into the MDF grooves so that everything was a cohesive color. The directions on the stain were to wait at least 6 hours in between each coat. I was impatient and did not wait that long and wished that I had. Although it ended up looking pretty good at the end, I do think the first coat went a little better and the second coat would have gone on smoother if I had waited the right amount of time!
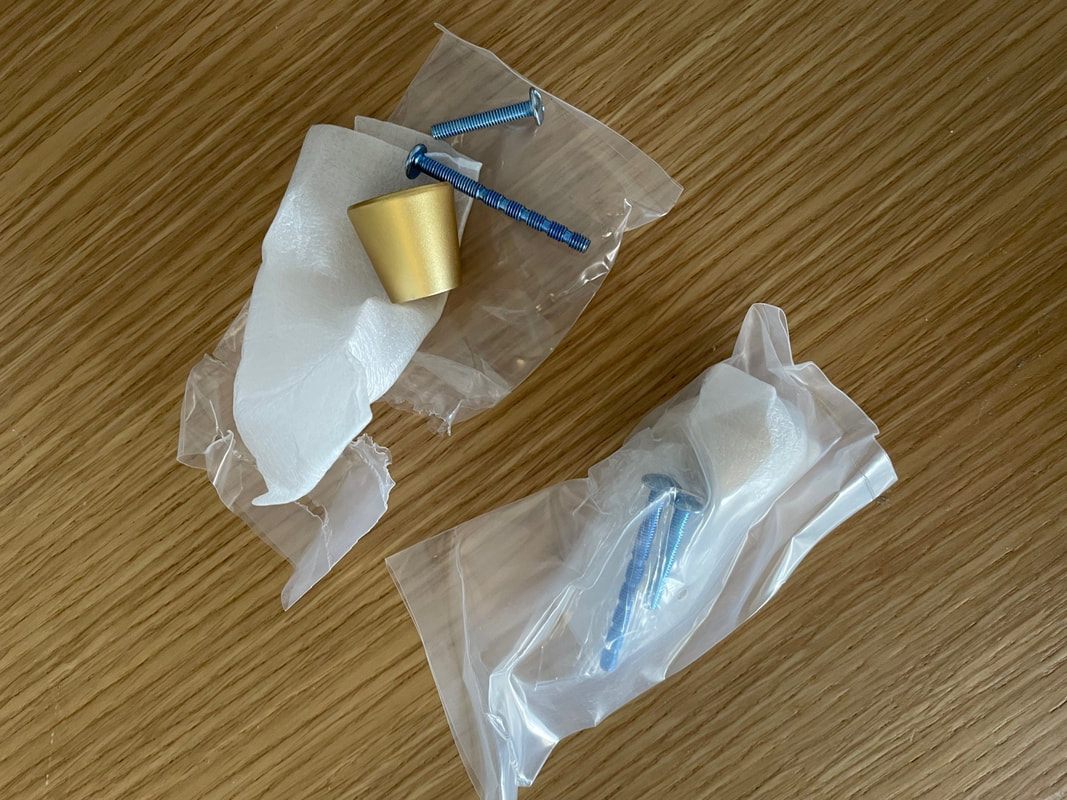
After letting the panels dry overnight, I then used some construction adhesive to attach them to the doors. I do know that it would have likely been easier if I had removed the doors, but to be honest I was not 100% sure how the piece was assembled and I did not want to risk messing it up when I put it back together! I used a decent amount of glue and some clamps to keep things in place when they dried.  I purchased 2 sizes of the same simple black handle and ended up using the larger size as it felt better with the size of the doors. In part 1 of this blog, I know I had mentioned wanting to do colorful legs and handles on this piece but after thinking on it, my husband and I actually decided black would look better with all the other decor we had in the living room which is where this would end up going. To figure out where to drill for the handles, I dabbed a small amount of paint on the back of the handles and then placed them down in the correct spots. Then I had a perfect template for where the holes should go.
I bought some plain wood legs at Home Depot and used 2 coats of some black outdoor acrylic paint and 1 coat of sealer. Once they were dry, I added some furniture slidey pads that I attached with a dab of the same construction adhesive I had used before.
 I used the existing hardware that was already on the cabinet from the previous legs and also added a dab of construction adhesive before screwing the legs in to ensure they were very secure. Finally, I purchased some battery-operated strip lights to light up the inside of the cabinet. I attached them to the underside of the top of the cabinet and the underside of the shelf to light up each section. You will see how that looks in the final shots!  Before you see the finished project, I thought it would be helpful to share how much everything for this project cost, how much of each item I used and what I already had in my crafty stores and did not need to purchase. Pole Wrap - the 4 by 4 piece I bought was $108; I used less than half of the piece I bought and do have a lot left to do something else with; I had purchased this size specifically to allow me to cut the door pieces out in one piece Gorilla Glue Construction Adhesive - $10 and I still have a good amount left Wood Stain - $13 and I do have some left of this as well Battery operated light strips - $30 2 door handles - $12 4 cabinet legs - $44 In terms of what I already had and used for this project, I used a miter box/saw, paintbrushes, clamps and drill. And after all that suspense, I am finally ready to show you the final project. We ended up turning this cabinet into our bar cart/cook book storage.
 I am so happy with how this turned out! I had quite a journey with this cabinet from thinking we would just end up throwing it away to turning it into this!
I'm really glad that I decided to upcycle it into something that worked well for us and fit the style of our living room. Let me know what you all think about it in the comments below! - Rebecca P.S. Today's photo on the homepage is from Pexels user Chris F: www.pexels.com/photo/assorted-wine-bottles-1283219/
3 Comments
Mama
5/28/2024 09:15:09 am
Nicely done! It gives the cabinet a whole new, fresh look!
Leroy Jethro Gibbs
5/28/2024 10:33:43 am
Very nicely done!
Deb
5/28/2024 06:11:44 pm
Nice job Rebecca! Leave a Reply. |
AuthorI am a 27-year-old crafter and baker from New Hampshire! Archives
July 2024
Categories |


 RSS Feed
Proudly powered by Weebly