|
Hello everyone! So I am back this week with an IKEA upcycle to share with you all. Not to get too deep, but I've been doing a research project on IKEA for one of my graduate classes and looking at how sustainable the company is. As someone who loves IKEA and whose apartment is about 70% furnished by IKEA, I do think its important to think about how these products are made, what they are made of and how we dispose of them. All of that to say, I decided that I wanted to do an upcycle project on two pieces of IKEA furniture that I have to give them some new life. I have two of these IKEA Alex drawer units in my office/craft room and I've had them for several years. They are extremely functional, but a bit bland. 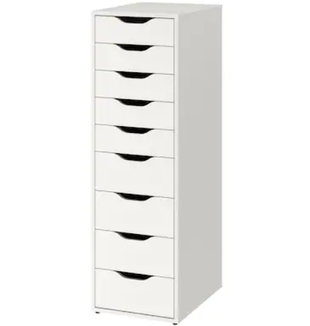 I recently added some handles to another IKEA piece that I have and it really made the piece seem more personal, so I wanted to do something similar to these drawer units. 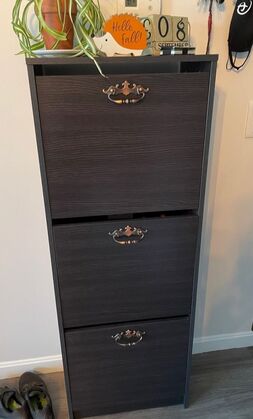 Instead of doing drawer handles on these white units, I decided to get some golden knobs. I also had the idea to get some peel and stick wallpaper that I could use to cover the fronts of the drawers themselves. I got a pretty teal wallpaper with gold flowers to match the knobs. 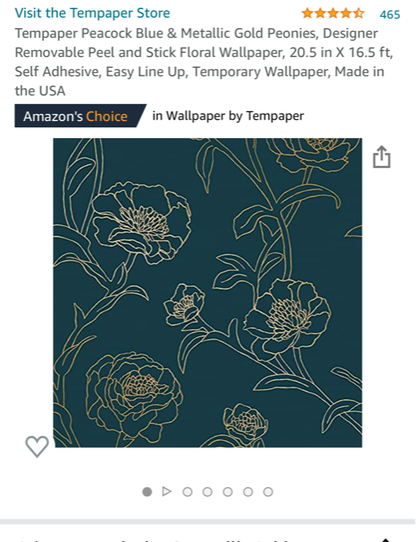
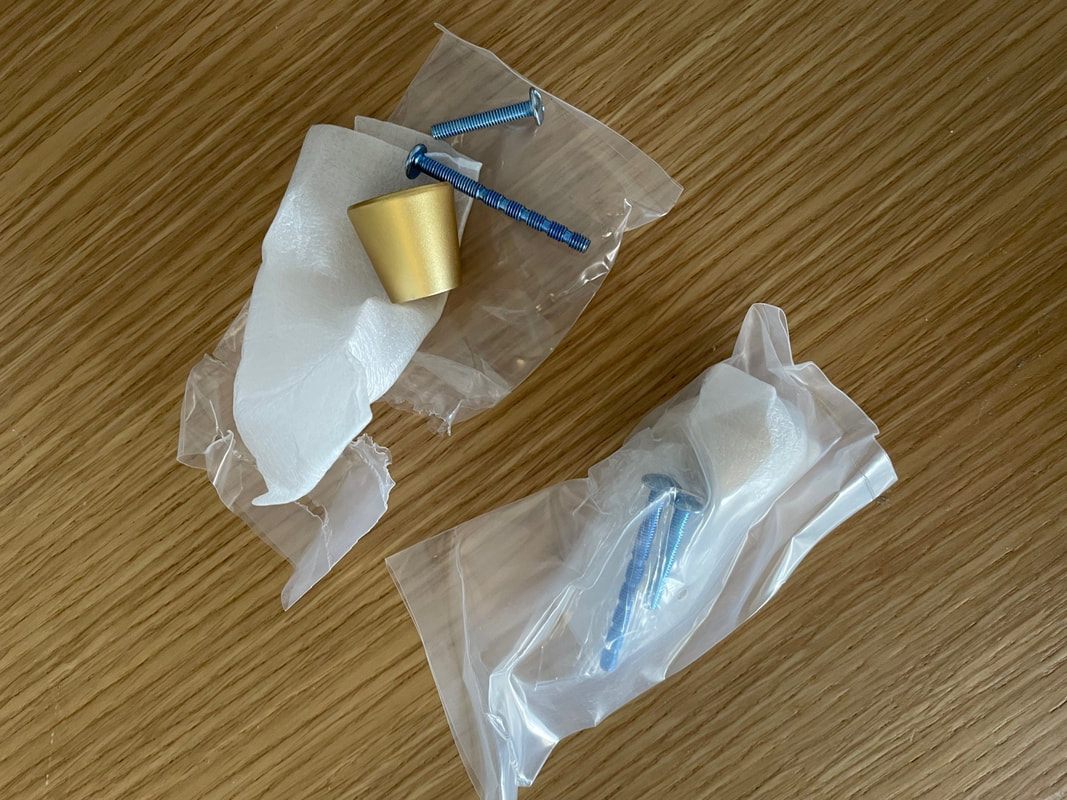
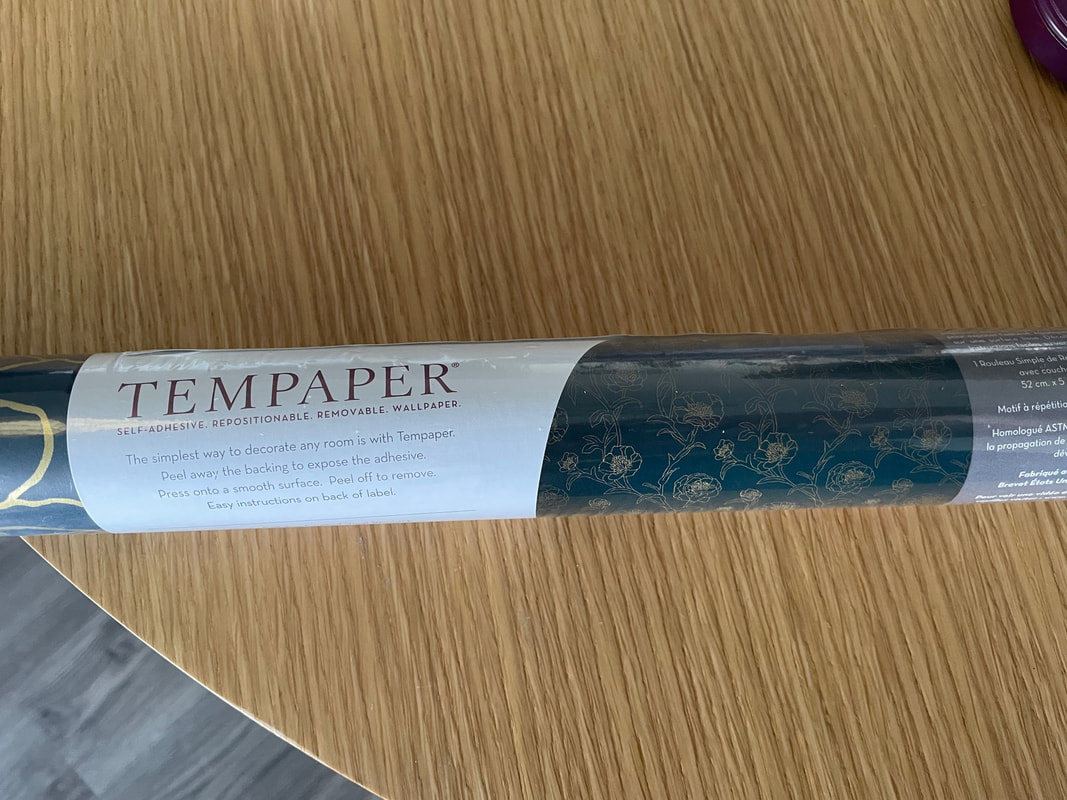
To help me with the drilling of holes for the knobs I made myself a template. Using a piece of painter's tape, I measured the drawer front and marked a hole in the middle. I then used this to mark where the hole should go on every drawer. 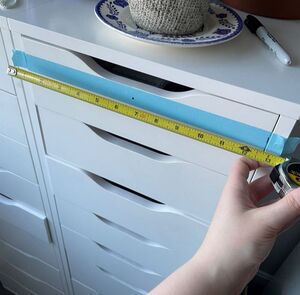 I found that the best process was to first cover all of the drawer fronts in the wallpaper. Instead of driving myself insane and trying to get the pattern to line up perfectly from one drawer to the next, I decided to just ensure that each drawer was different enough from the ones near it to look purposeful. I cut a piece of the wallpaper slightly larger than the drawer front and then stuck it on. Once I had squeezed out as many bubbles as possible, I used my X-Acto Knife to slice around the edges of the drawer to make it even. I also used the sharp tip of the knife to pop any bubbles that were left in the wallpaper. I would say that covering all 18 drawer fronts took me about 2 hours total. 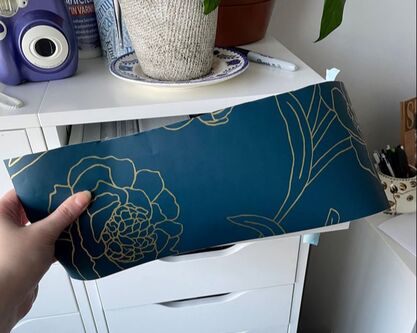 I then used my template to drill holes in each drawer. I will say that because of the particle board-ness of the IKEA pieces, the holes that it makes are a little messy on the back. Every time I have drilled into this kind of IKEA material, the front of the hole is very clean, but the back splinters a bit. As it's the back, I don't really mind and the screwhead covers most of the damage. Beware that this is usually very dusty and messy too so I would recommend drilling the holes over a trashcan. Once the holes were drilled, I just screwed in a screw from the back and twisted the knobs on from the front. Even the shorter of the two screws that the knobs came with was too long so I did end up using some shorter screws I already had. And here they are all done! 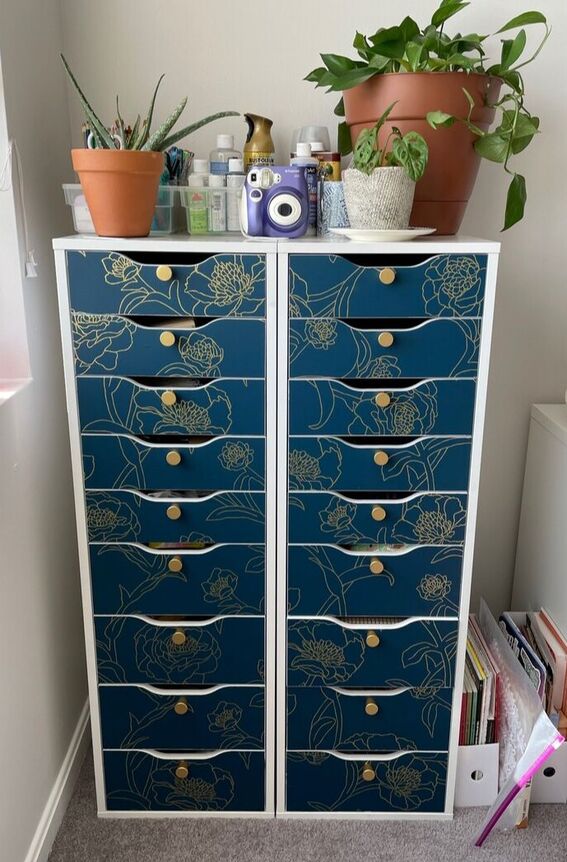 The cost of the wallpaper and knobs together was about $50, but I do still have at least half of the wallpaper left, as well as two knobs. I'm really happy with how these turned out and I think they look a lot more stylish now. This was my first time using peel and stick wallpaper and I found it very easy. I have used contact paper before and found it somewhat difficult to use as its extremely sticky and hard to reposition. This wallpaper was really easy to pull off and reposition and was thick enough to hide any imperfections in the material of the drawer units themselves. I know that some DIY projects, such as covering a countertop, may require contact paper for the durability factor, but if you're trying to do a craft project and just need some sticky paper that doesn't need to be waterproof, my vote would be for peel and stick all the way.
Do you all like how the IKEA upcycle turned out? Let me know in the comments below! - Rebecca
1 Comment
Momma
9/12/2021 05:03:05 pm
I love it!! The paper and knobs really elevate the piece and make them much more stylish. Nice job! Leave a Reply. |
AuthorI am a 27-year-old crafter and baker from New Hampshire! Archives
July 2024
Categories |
 RSS Feed
Proudly powered by Weebly