|
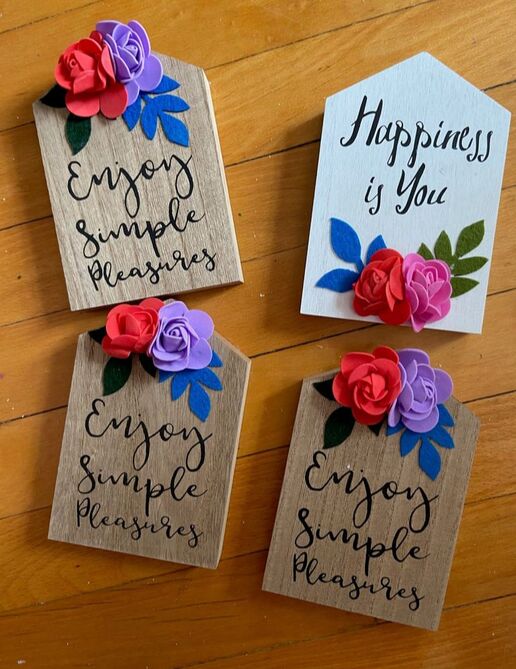
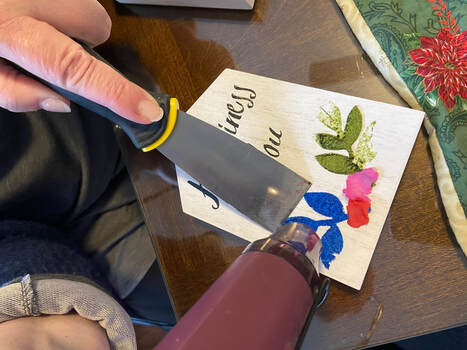
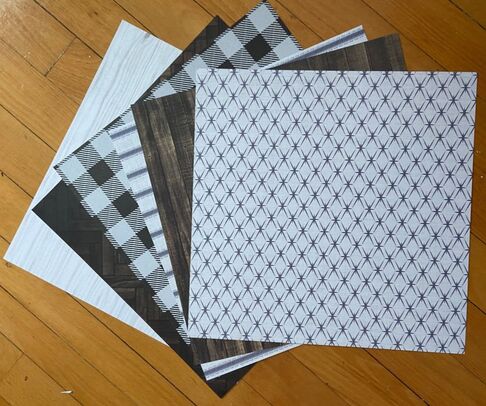
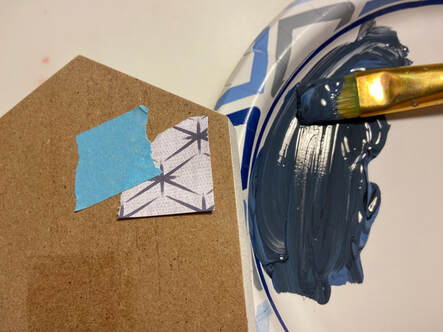
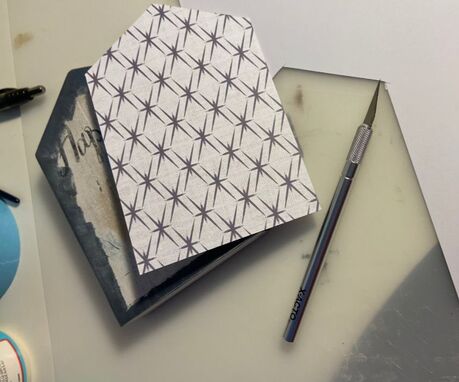
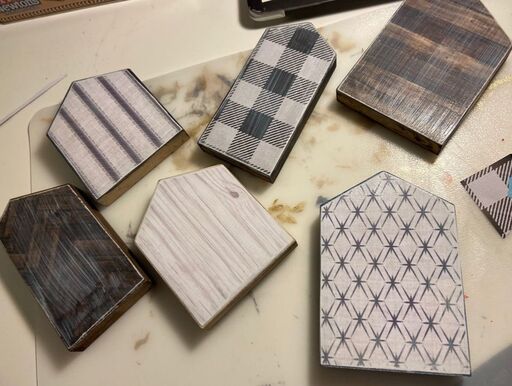
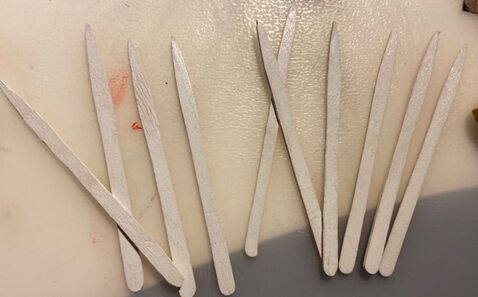
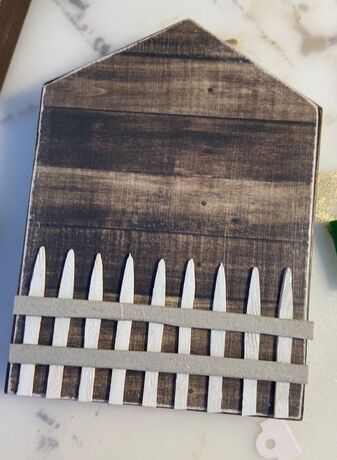
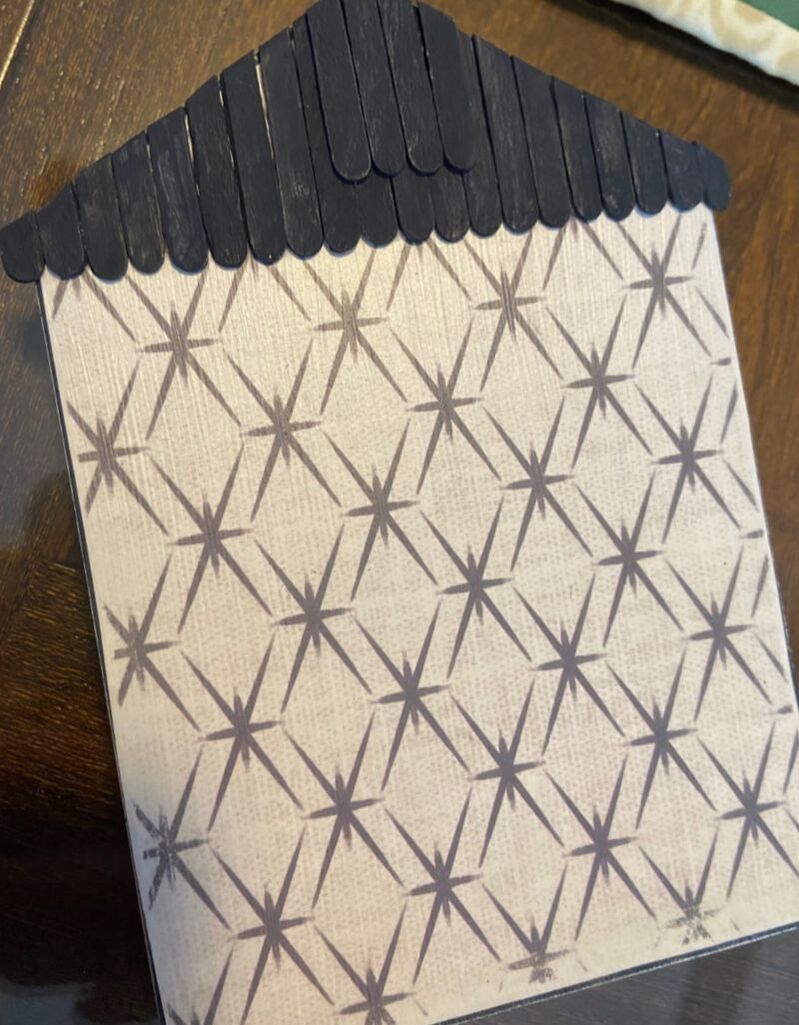
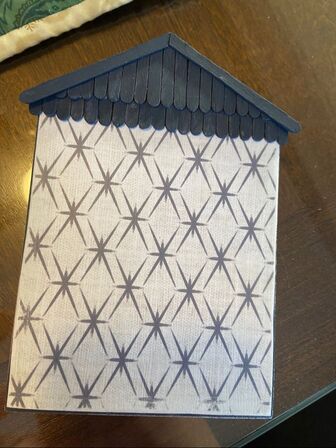
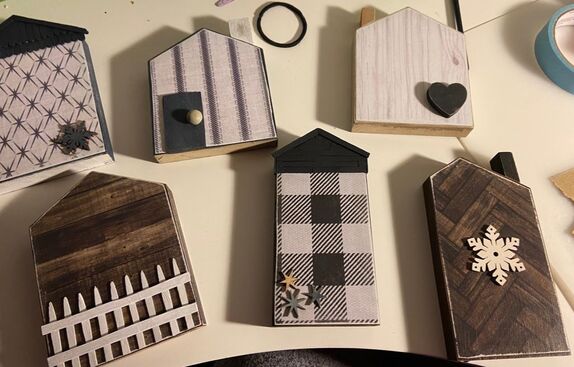
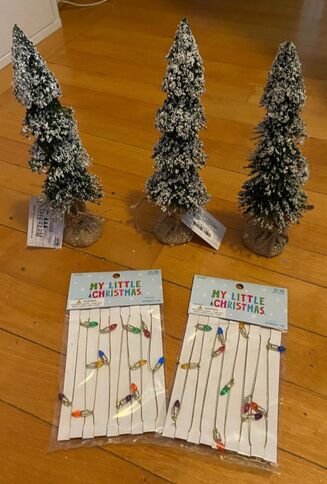
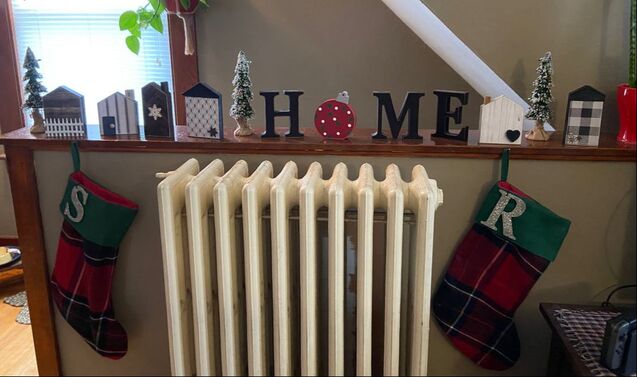
Hello everyone! Happy December! So I'm going to make it clear right now, this blog is less of a tutorial and more of me walking you through a super labor-intensive DIY that I would only recommend if you are very brave and have a full day to spare. So my husband and I had collected a mismatched Christmas village. You know the little ones made of porcelain that you put lights in? We had some from family, some from the thrift store and some from who knows where and had a big set of not cohesive houses. I do love a Christmas village and got it in my head to make a simple, wooden village that more matched my style. My mother found these perfect little house shapes at the Dollar Tree and got 6 for me. The first trial of this project was getting the felt flowers and leaves off of the houses. This was not easy. It was a two-person job that involved a heat gun and some scraping. Once the leaves and flowers were scraped off, my lovely father cut these down for me. I wanted the houses to all look a bit different so he cut some to be shorter or squatter. Using the cutoffs, he was also able to cut me some little pieces that I was able to use as chimneys. I then sanded down all of the houses using a sander to make them easier for painting. Once the houses were prepped and ready, I picked the paper that I was going to use to decorate the houses. I went with 6 sheets of paper from the same farmhousey paper pad. Once I picked the paper I was going to use for each house, I picked and mixed paint colors to match the paper. I painted the sides, back and a little bit of the front of the houses as I planned to cover most of the front of the houses with the paper. I used some sandpaper to sand off some of the paint and give the houses a shabby chic look. If you want to make something look more worn and old, I would always recommend going at it with some sandpaper. I then traced the shape of the house out of paper with a knife. I cut the paper down slightly smaller than the house so that the painted edge showed. I also used some sandpaper to give the edge of the paper a worn look. Then using some Mod Podge, I glued the paper to the front of each house. Once the Mod Podge was dry, I attached some chimneys (which I had also painted) using some Super Glue. Now was time for the more intensive and time-consuming decorating part of the project. I knew I wanted one of the house to have a fence so I used some wooden stirrers and chipboard that I cut down and painted white which I attached with Super Glue. I also wanted a roof on two of the houses. I can't begin to express how long this took. Using the same wooden stirrers which I painted, cut and Super Glued, I created a shingle-style roof on one house. I did a similar approach on another house, but don't have pictures of that roof attempt as I went wrong the first time and I was real grumpy about it. I also found some smaller wooden pieces in my mother's wood drawer and painted these for additional decoration. Once the houses were finished, I sprayed them with a few coats of sealer to protect them. To finish off the Christmas village feeling, I found some cute Christmas trees and fake tiny lights at Hobby Lobby. I wrapped the lights around the trees to add to the scene. And then they were done! These were VERY MUCH a labor of love, but they came out so cute and I love how the entire village looks as part of some Christmas decor. Please ignore the radiator intruding on this adorable Christmas scene. What do you guys think? Do you like this simpler approach to a Christmas village or do you prefer the traditional style?
Also, don't forget to check out my Shop page where I currently have some paintings listed. I will be trying to add some more products there over the next few months so please take a look! Whatever you all celebrate, I hope you have a happy holiday season! - Rebecca
1 Comment
Debbie R
12/6/2020 06:52:01 pm
VERY cute! Nice job
Reply
Leave a Reply. |
AuthorI am a 27-year-old crafter and baker from New Hampshire! Archives
July 2024
Categories |
 RSS Feed