|
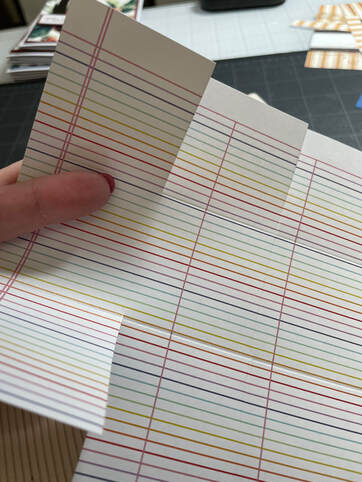
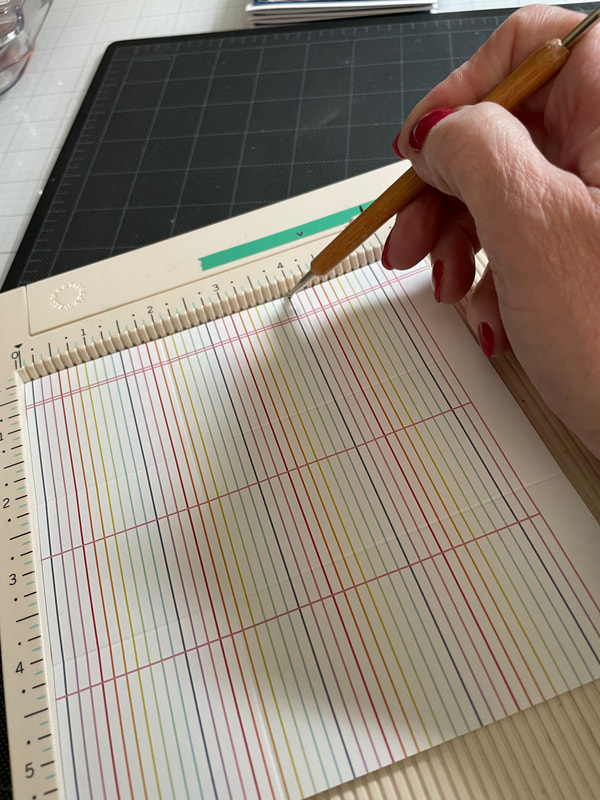
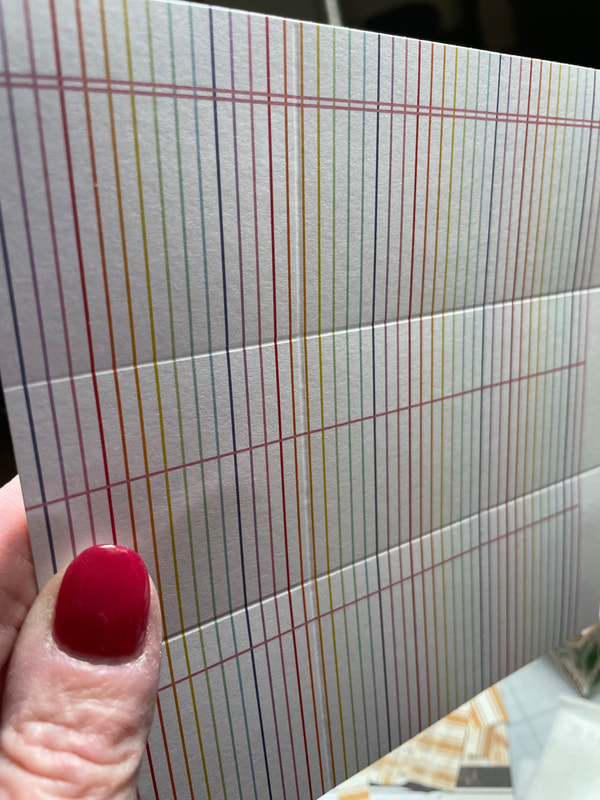
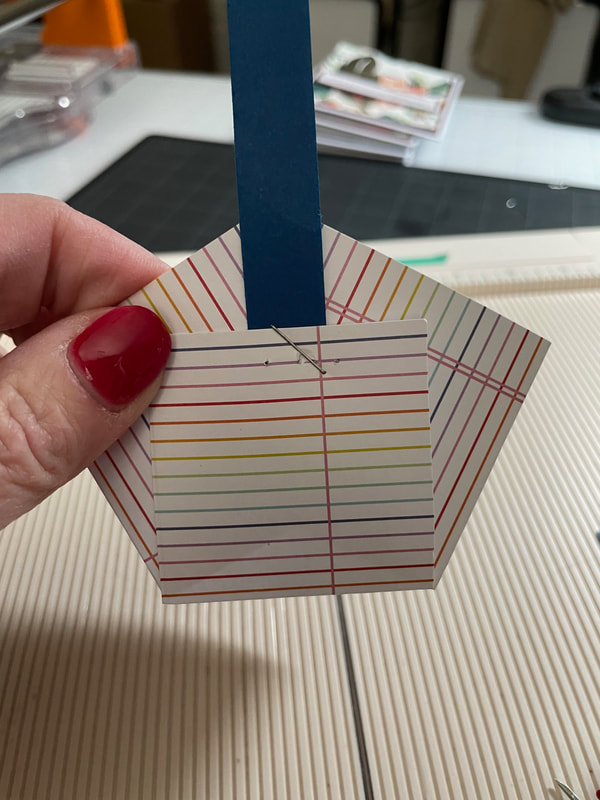
Hello Friends – It’s Suzanne, Rebecca’s mama, happy to be back with you on the PPP to share three quick and easy paper crafts that will be perfect to either decorate your Easter table or send to school for a classroom treat. First is a cute little basket. For this basket, you’ll need a square piece of paper that is sized to be divisible by three – 3 X 3, 4.5 X 4.5 or 6 X 6 inches is a perfect size for a mini basket or 9 X 9 or 12 x 12 inches would give you plenty of room for larger treats. The basket I am making in these photos starts with a 6 X 6 inch piece of paper. To begin, either fold or score in both directions to create 9 equally sized squares. Then, cut up on the score lines on each side of the paper, up to the opposite score line. Your paper should remain in one piece, with four cuts all lined up in the same direction.
 Refold all your score lines and use your fingernail or a bone folder to make sure the folds are sharp. Be sure that the pattern is to the outside of the folds. 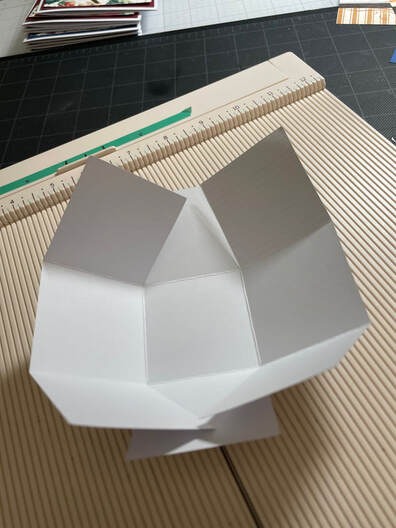 Bring the two side pieces up behind the center flat , overlapping the points as high as you wish, but not completely vertical. Tuck a thin strip of paper in between and staple the side in place. Repeat on the other side.
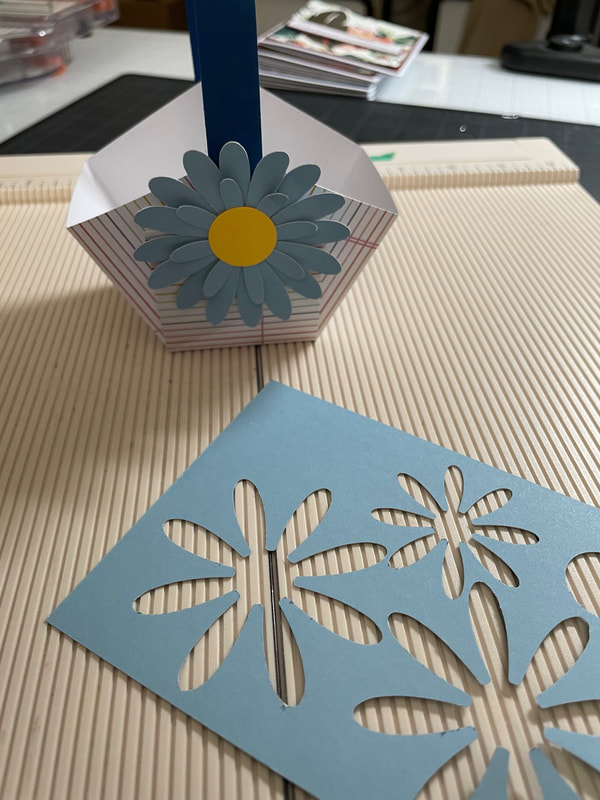
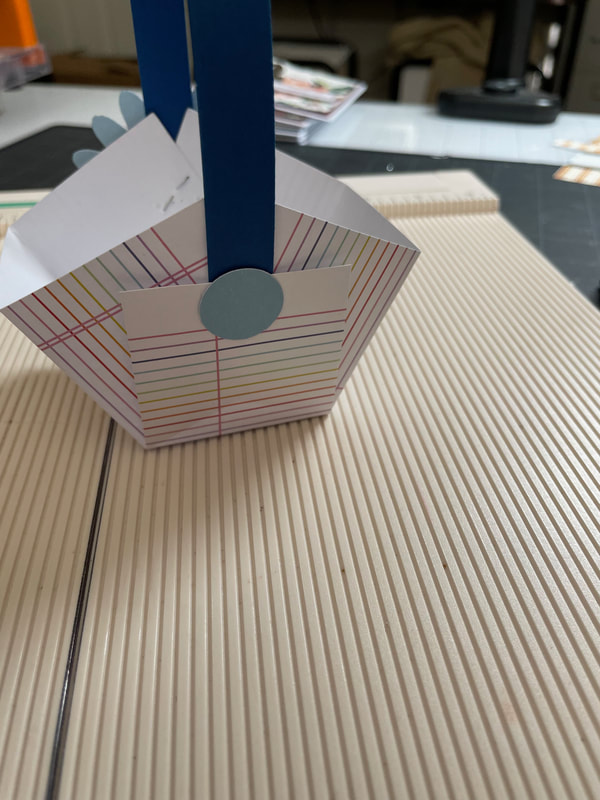
With that, your basket is done. You can decorate it as simply or as much as you wish. For this one, I punched out a few daisy shapes, layered them onto each other and used a glue dot to hold them in place, covering the staple. For the back of the basket, I punched a simple circle to hide the staple.
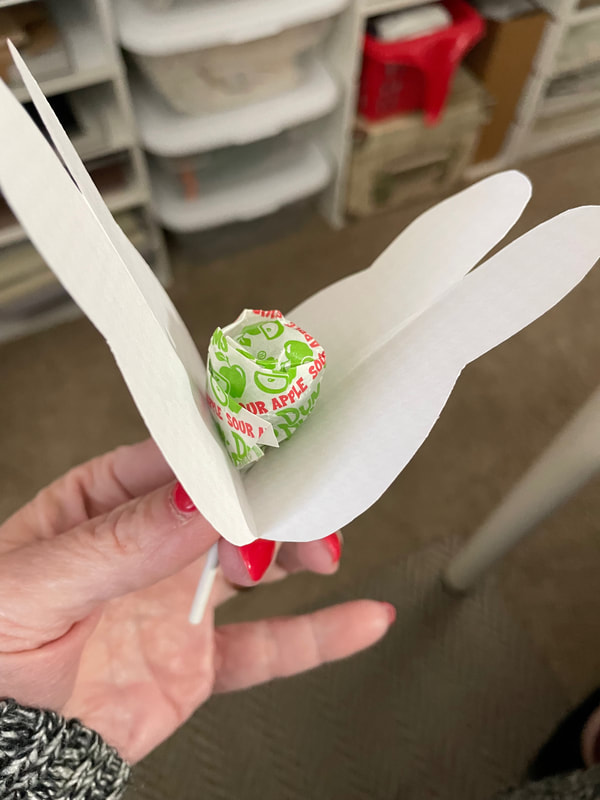
To finish, I stamped a small Easter sentiment and tied that on with a piece of cotton thread. You can see that basket can hold a fair amount. I made another with a 3 X 3 inch piece of paper and ended up with a teeny tiny basket that would be large enough for a few chocolate eggs or jelly beans. For this one, I just punched a couple of small circles to cover the staples. These will be the perfect size to use as place cards for Easter dinner. 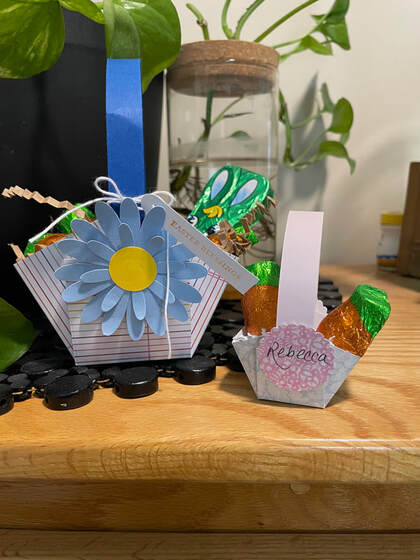 Next up is a quick and easy lollipop cover. You will want to start with a piece of paper this is roughly three times as wide as your lollipop and about twice the length of the overall lollipop (including the stick). For these Dum-Dums, I started with a piece of paper 4 inches wide and 8 inches long. Fold the paper into fourths and draw one ear and one half a face against the folds of your paper. I made myself a small template, which would be helpful to keep your pop covers the same size, if you were making a number of these. Your lollipop should be able to fit comfortably in the head of your bunny. 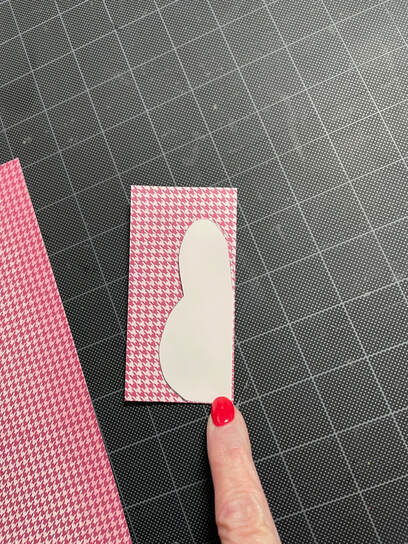 Cut the shape out and clip a tiny corner off the point (to make a hole for the stick of your lollipop.
Pop the stick through the hole and use a tiny bit of adhesive to hold the ears together. You can decorate these as elaborately as you wish as well. I decided to just add some eyelashes and a small bow, but you could add a nose, whiskers, flowers, etc. This would be great as a quick and easy classroom treat and since most kids will simply tear the covering off to get to the candy, I would chose to go simple with the decorations.
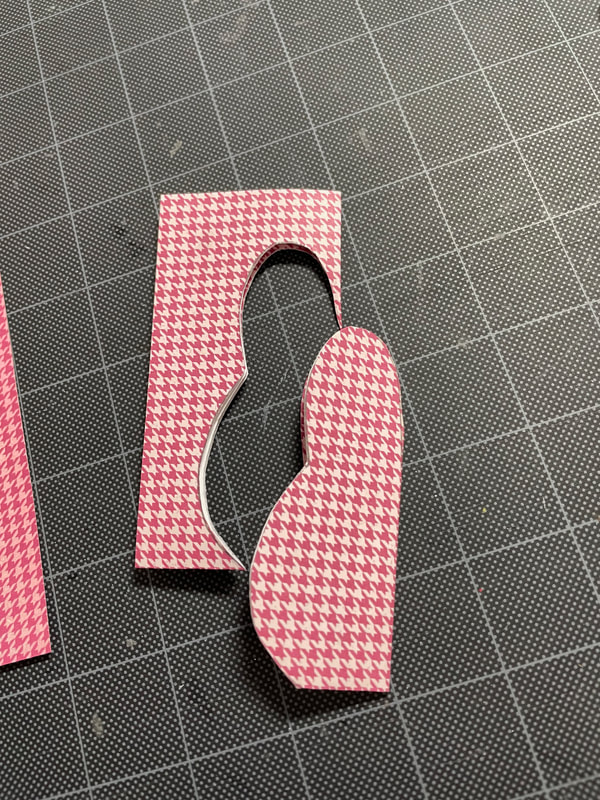
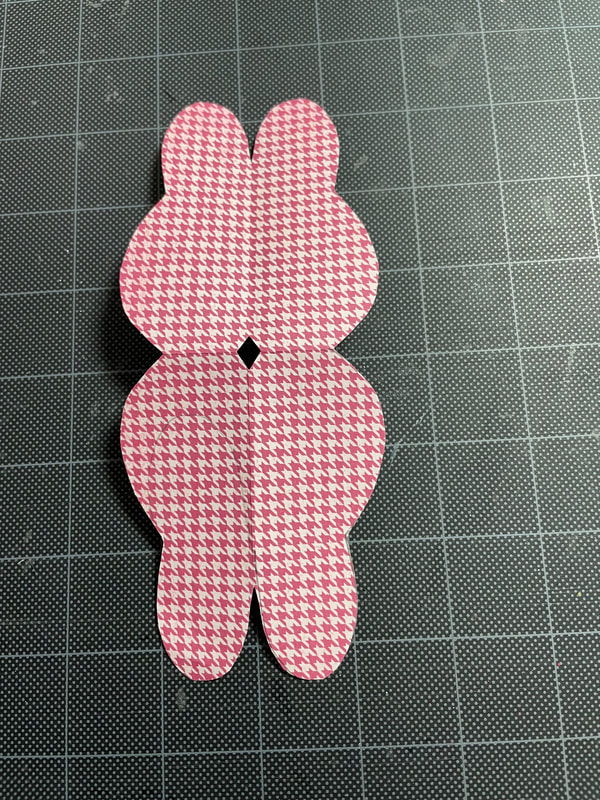
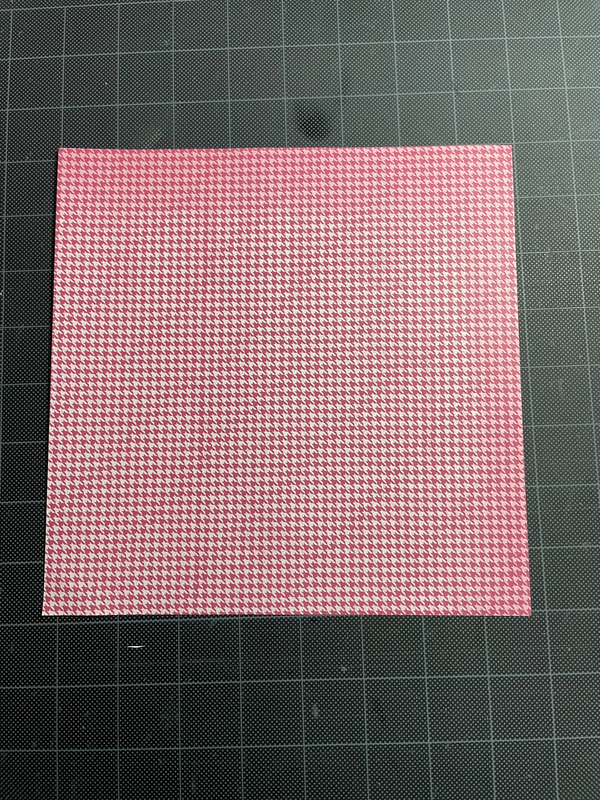
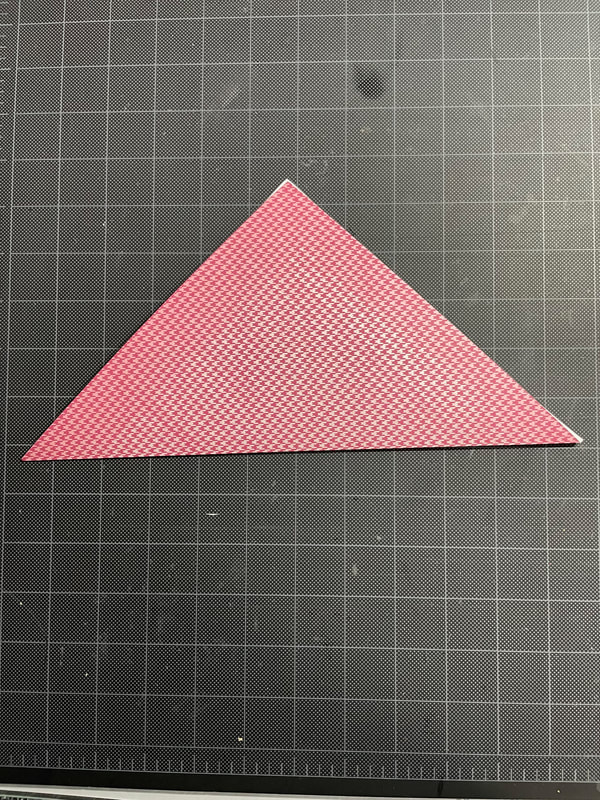
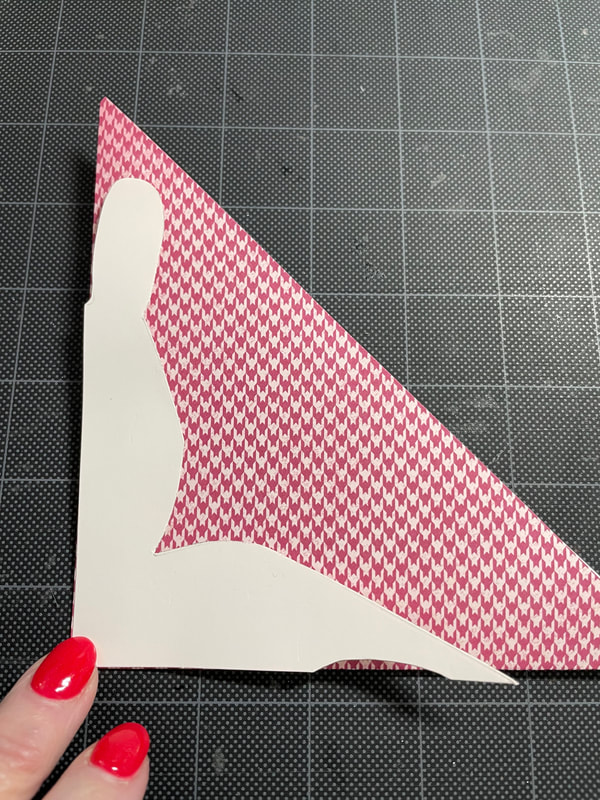
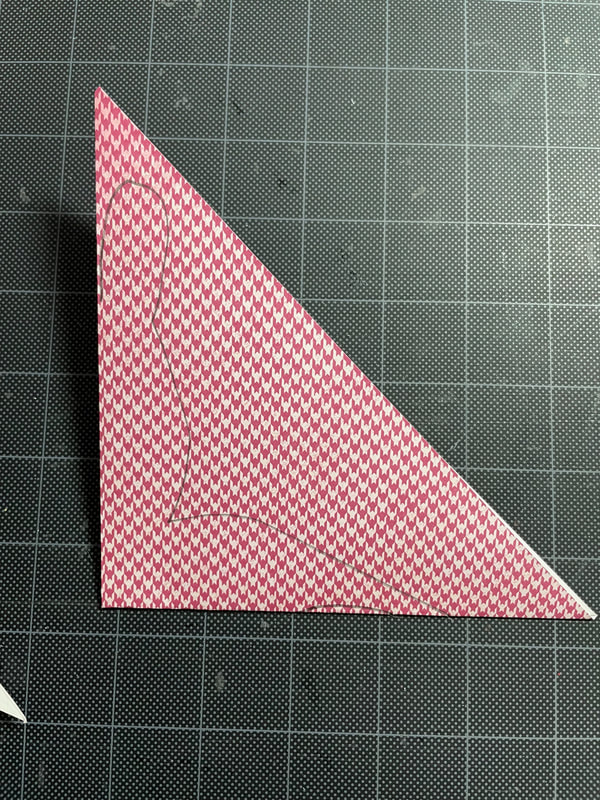
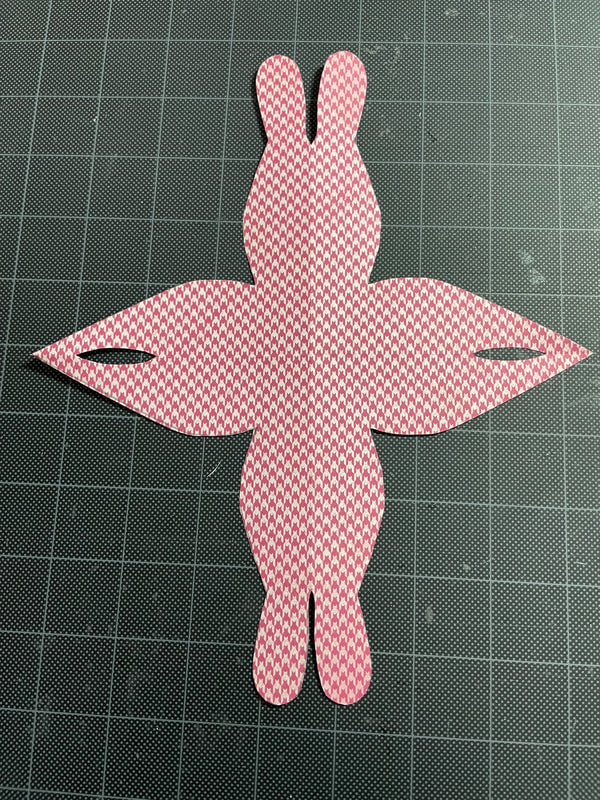
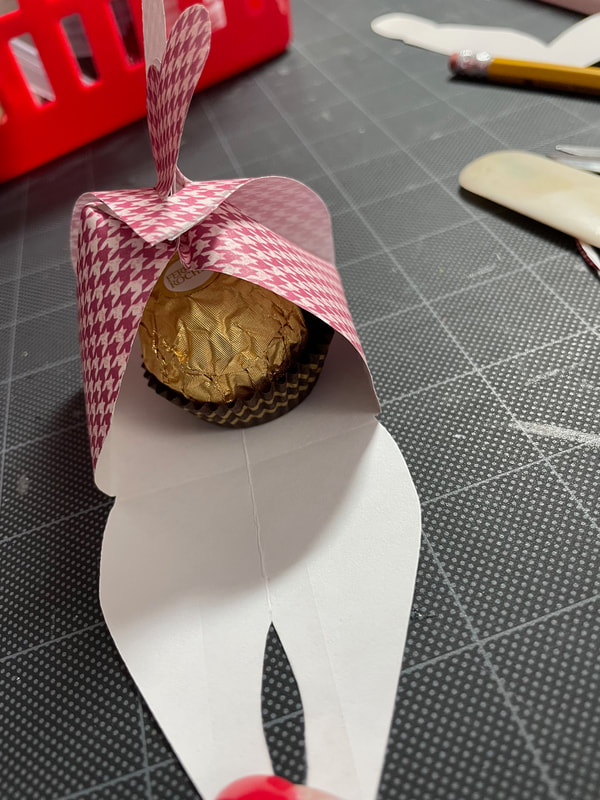
The last item is a small three dimensional box just large enough to hold a Ferrero Roche or a Lindt ball. For this one, start with an 8 X 8 inch piece of paper, folded corner to corner in both directions.
The shape for this one will be one ear, half a face and a longish body with a little slit in the end of the body. This should be drawn with the corner of the shape in the folded corner of the paper.
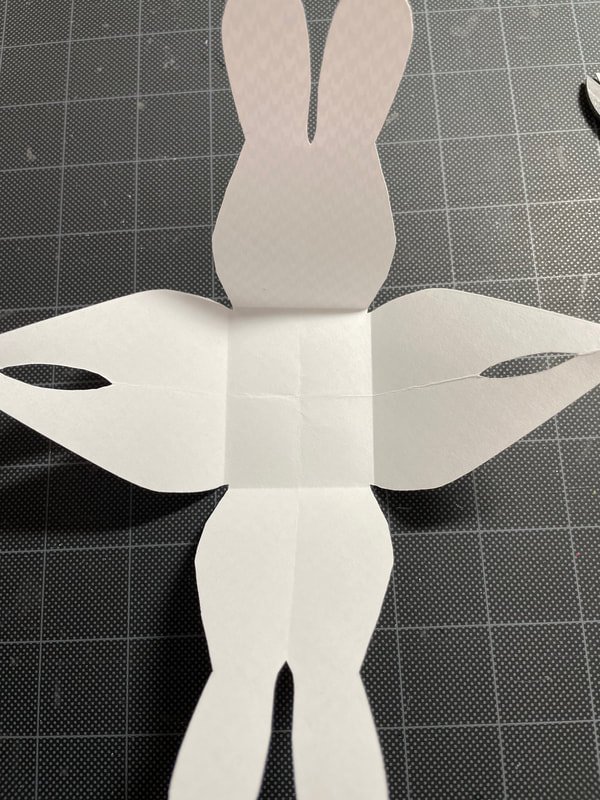
Fold up each side of the resulting shape to create a flat bottom to your candy holder.
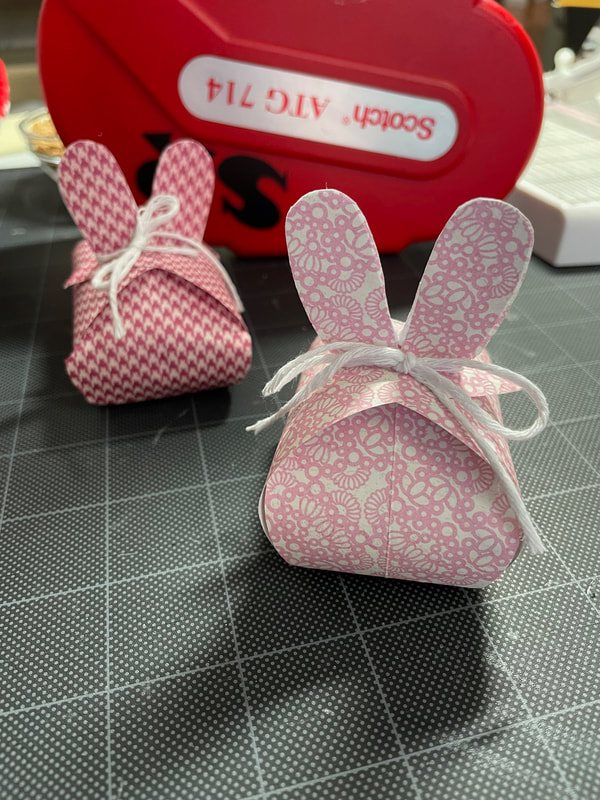
Bring the four bunny ears together and push them through one of the slits at the end of the body portion. 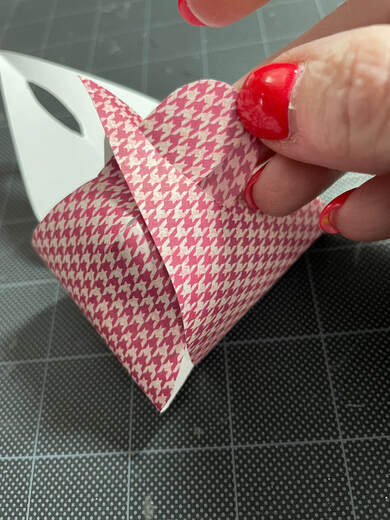 Pop your candy into the body and then push the other slit over the ears, closing the box. You can use a pencil or your bone folder to push the sides of the box out to ensure the shape is rounded. Here again you can chose to decorate as much or as little as you wish. I like the simple bow on these boxes.
I wish you all a happy Spring and a happy Easter. And, of course, happy Crafting!
Thanks to my mother for a fun and springy blog! - Rebecca P.S. Today's photo on the homepage is from Pexels user George Dolgikh: www.pexels.com/search/easter/
0 Comments
Leave a Reply. |
AuthorI am a 27-year-old crafter and baker from New Hampshire! Archives
July 2024
Categories |

 RSS Feed
Proudly powered by Weebly