|
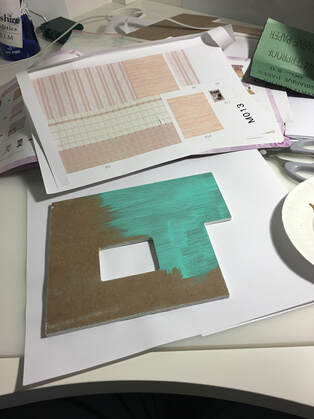
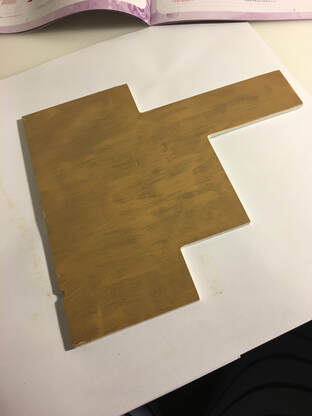
Why hello there friends! Today's blog is a part one of two where I will be showing you how I customized a do it yourself dollhouse kit. I have always loved dollhouses. I'm not sure why, but I've always just loved little versions of normal sized things. Little fridges, little couches, little side tables: that's the good stuff. Anyways, I love putting together kits of small dollhouse rooms and usually customize them a bit from the directions. This is the kit I purchased this time from Amazon: 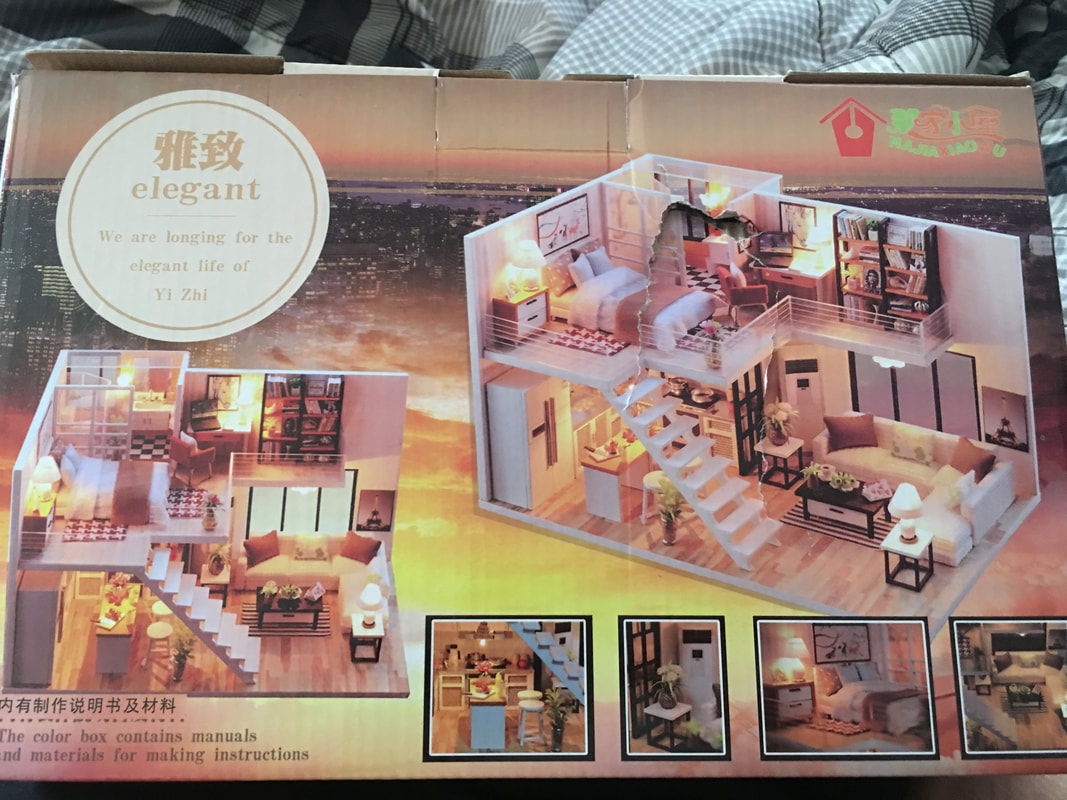 The box and directions were not in English, but the pictures are the most important part in figuring out how to put the room together so this was not really an issue. I didn't really listen to the directions from that start anyway. These kinds of kits always come with some cutouts for you to use as flooring and wallpaper, but I think that those typically make the whole piece look a little more dated. Usually I just paint the walls and floors the way that I want because, well, I'm a grown up and I can do whatever I darn well please. For this kit, I chose to paint the walls a fun teal and just give the floors a couple coats of a medium toned brown.
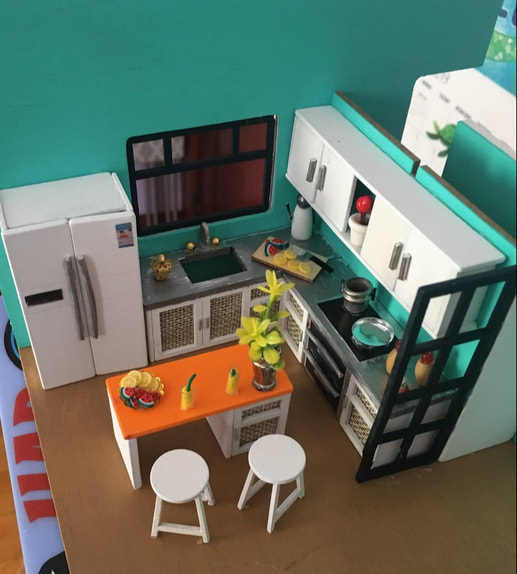
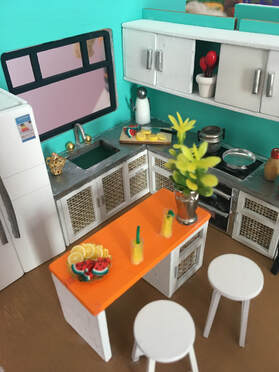
After doing this, I got started on the kitchen. I mostly followed the directions when putting together all of the pieces for the kitchen, but did change where some of the smaller decorative pieces got put. The directions also showed how to make a vent hood for the oven but it was covered in the same shiny silver paper that the counters were and frankly I was sick of using it because it's a little finicky and hard to adhere to the small wood pieces. Putting this kitchen together took me about an entire evening. The only tools and supplies I needed outside of the kit itself were some paint and paintbrushes (which you wouldn't need if you used the cutouts you were given), some tweezers (to help when adhering small pieces together) and some SuperGlue. SuperGlue is always my glue of choice but I will say to be careful when using it for projects like this as the formula of the glue sometimes strips the color off of the pre-painted pieces of wood; so always make sure that no extra glue seeps out from where you are gluing. Here's what I have so far for the dollhouse:
Next week I should have the whole dollhouse done for you all to see! Leave any questions you have about this dollhouse in the comments below!
- Rebecca
0 Comments
Leave a Reply. |
AuthorI am a 27-year-old crafter and baker from New Hampshire! Archives
July 2024
Categories |
 RSS Feed
Proudly powered by Weebly