|
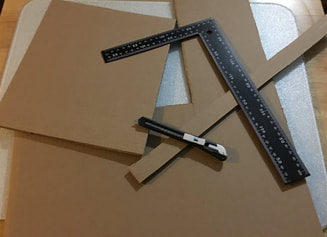
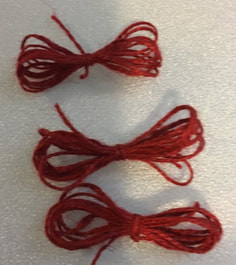
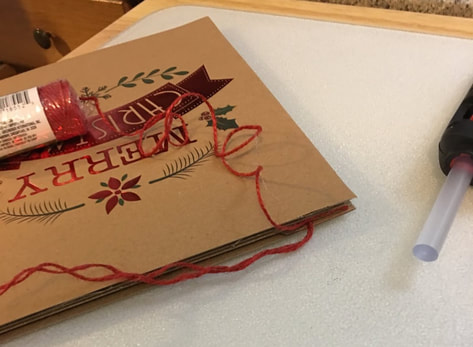
Hello friends – this is Suzanne, Rebecca’s momma. I’m happy to be back on the blog this week with a guest post. Today’s craft is a quick and easy one, perfect for some last minute Christmas decorating or even a sweet little homemade gift. Depending on what you have in your craft stash, this project could cost you as little as $1. There are some really adorable gift boxes in stock this holiday season at one of my favorite places, the Dollar Tree. When I saw this set with the “Merry Christmas” message on it, I thought it would make a great little décor piece. My plan is to use the image as the centerpiece of a hanging sign for my back door. As I was thinking about what to do, I pulled some other items out to have on hand –
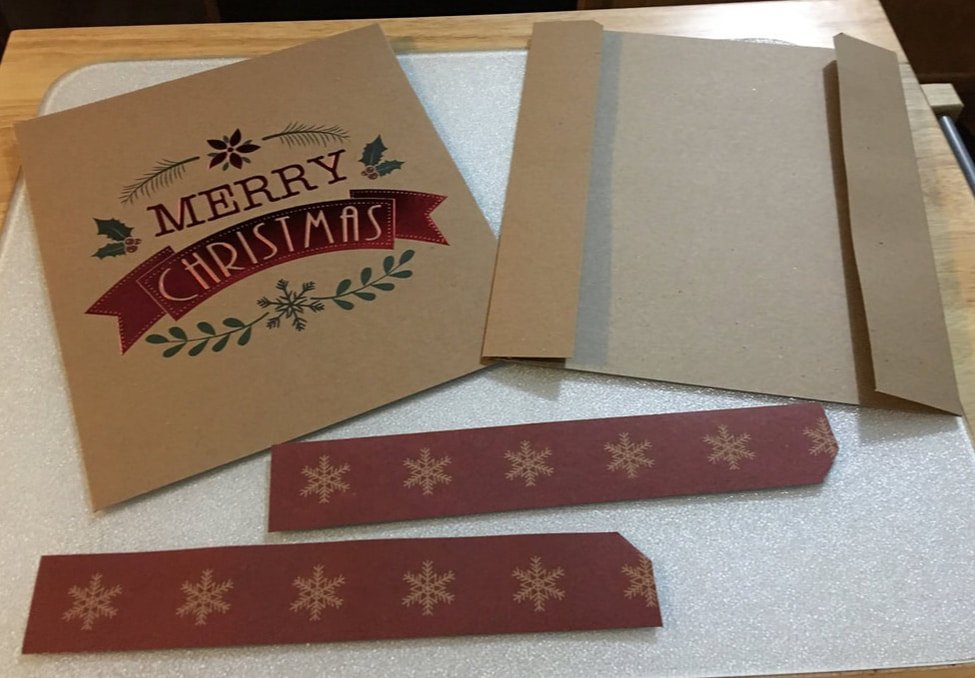
I started with the top half of the box, the one with the image on it. Using a guillotine cutter, I trimmed the box to center the image on it. I eyeballed it, but you can certainly measure and mark the box before cutting. If you don’t have a guillotine cutter or other cutter of some sort, scissors will get the job done. I then trimmed off the sides of the box because they had a delightful snowflake print on them. Finally, I trimmed the bottom half of the box to match the size of the top half. In retrospect, I should have opened up the sides of the top half of the box and trimmed those off first. I would then have had a bit more of the stripe of snowflakes to use on other projects, since it is so cute. Perhaps next time! Next, I cut a rectangle of corrugated cardboard (Amazon boxes, anyone?) that was just slightly smaller than the trimmed box. I will also need a thin piece of corrugated cardboard just slightly smaller than the snowflake strips. Let me take a moment to commend this metal angle ruler and box cutters from the Dollar Tree. The quality of both is excellent and I highly recommend them as very useful additions to your craft room. Now for the super simple assembly –
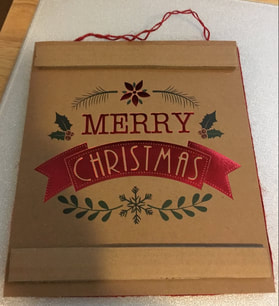
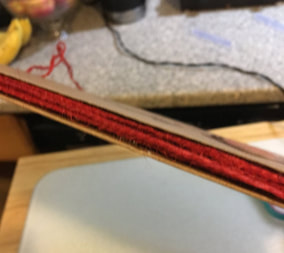
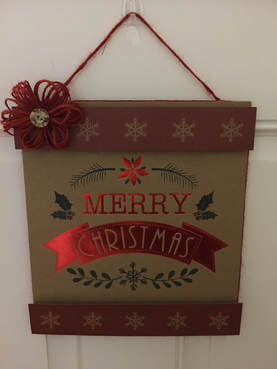
You could call this done at this point, hang it on your door and go on with your life. It’s cute, but I wanted to add a little more detail. To hide the raw edges of the cardboard, I wrapped a few rounds of the same red jute I used for the hanger into the groove created by the cardboard piece being slightly smaller than the two sides. A tiny drop of glue to start and to end holds everything in place. A word of caution – be sure that the two gift box pieces are adhered right to the edge of the cardboard piece or the jute will work itself between the gift box and the cardboard piece. Then I glued the narrow strip of the cardboard to the top and bottom of the sign, slightly in from the edge, and added the snowflake strip over that. The additional layer of cardboard gives nice dimension to the piece. I had initially thought to add a bow of some sort to the hanger, but none of the ribbons I’d pulled out was giving me the look I was going for. With the image and the snowflake strips, everything seemed a little too busy so I decided to go with the same red jute and make a little rosette. Wrap the jute around something – a box, a piece of cardboard, your hand – 6 to 8 times and tie in the center with another small piece of jute. Do this three times, then glue them together at the center, offset from each other. If you think of a clock face, lay one bundle at 12 and 6, lay the second one at 2 and 8 and the last one at 4 and 10. Add a button to the center to finish it off. I added the rosette to the top of the piece and it was done! I hung it on the back door, ready to greet guests to our home. Obviously, this is not a piece to hang where it will be exposed to the weather, but behind a storm door or on a porch or inside the house, it’s a super cute sign. Since the boxes come two to a package, you could actually get two signs out of one package. What a deal!
I wish each of you a very Merry Christmas and a crafty new year! See you soon. - Suzanne
0 Comments
Leave a Reply. |
AuthorI am a 27-year-old crafter and baker from New Hampshire! Archives
July 2024
Categories |
 RSS Feed