|
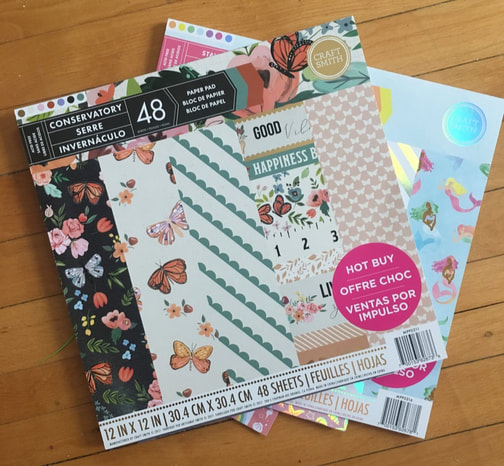
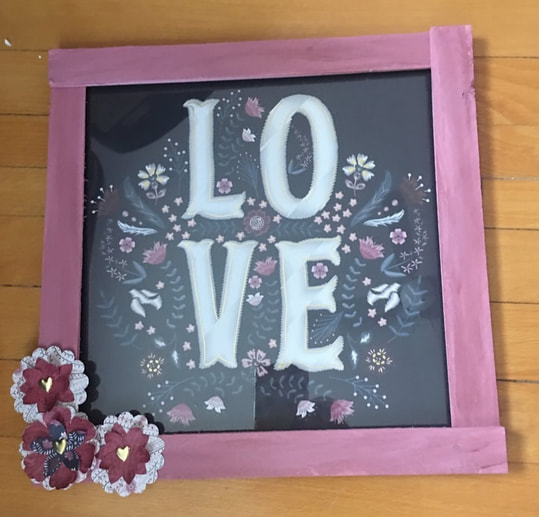
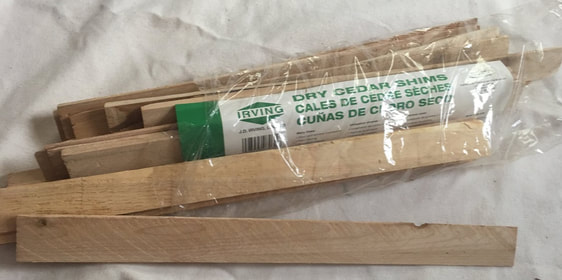
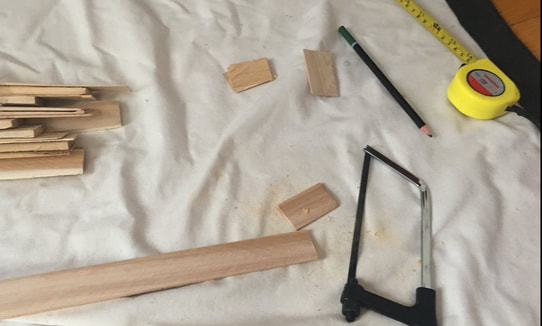
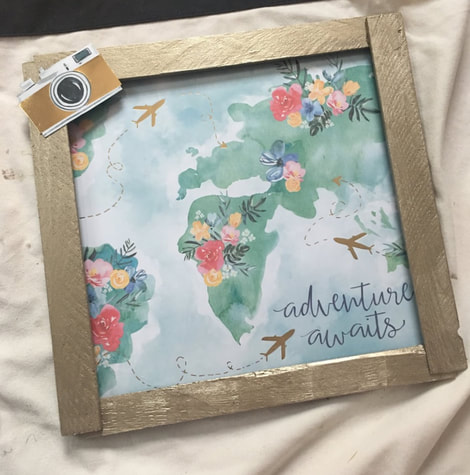
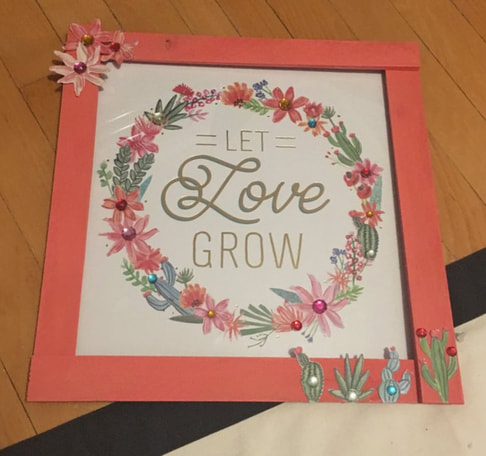
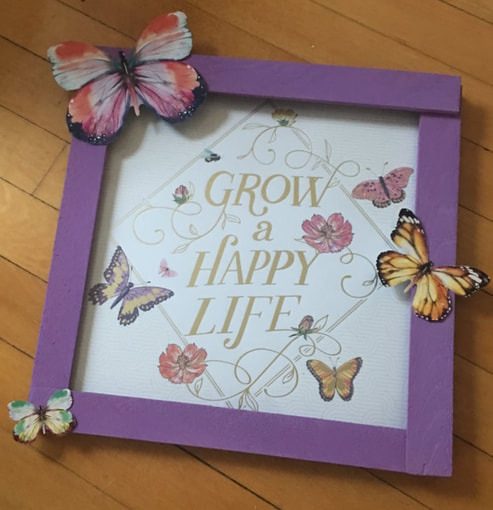
Hello everyone! I am back! So I had bought some simple black 12 by 12 frames from the Dollar Tree and wanted to do something fun with them. I have quite a few 12 by 12 paper pads, most of which contain full sheets with pretty sayings or words on them and thought it would be nice to put some of this pretty paper into the frames. Even though the paper is very pretty, a sheet of paper in a frame isn't all that exciting so I knew these needed to be fancied up a little bit. My mom had an idea for dressing up these frames and made a prototype for me: So although this post isn't a guest post from my crafty mother, her ideas are still heavily featured in this blog! The large pieces of wood around the frames are cedar shims that you can pick up at any hardware store. The first step was to cut the shims down; they are about 15 inches long and each one needed to be cut down to 13 inches. Since shims are thinner on one end and thicker on the other, I chose to cut those 2 inches off the thinner end to make it easier on my pathetic little saw. Once the shims were cut, I sanded them down quickly with some medium-grit sandpaper to get rid of any sharp edges. Then it was time to decide what color to paint the 4 shims needed for each frame. The colors I ended up with were purple, gold and a peachy/orange shade. These colors will make sense once you see the papers I paired them with! Once the shims were painted, it was time to attach them to the frame. For this I used my hot glue gun with my go to Gorilla Glue sticks. I actually attached the shims to each frame in a different order (not on purpose but because I got confused), but they all came out looking good! You can either add the shims to the top and the bottom of the frame first and then overlap the side shims or you can add the shims in a clockwise pattern. The most important part is that you want the thin part of one shim to be touching the thick part of another shim so that everything is even. After gluing the shims on, it was time to decide what little decorations I wanted to add to each frame. For two of the frames, I decided to use small accents I found on pieces of paper in the matching paper pads. For the below frame, I cut out the gold camera to add on. I backed the camera paper with a piece of cardboard as well to give it a little more support. Here's this one all done! For this next frame, I cut out the small cactuses and flowers from matching paper and glued some gems onto those accents. I also ended up adding some gems to the glass of the frame itself for some extra added sparkle. And here is this one all done! And for this final frame, I decided to use some butterfly wall stickers as accents. Similar to the camera accent above, I stuck these to a piece of cardboard before cutting them out to give them more support when attaching them to the frame. And here is the final frame! What do you guys think about these frames? It is super easy to fancy up some dollar store finds!
- Rebecca
1 Comment
|
AuthorI am a 27-year-old crafter and baker from New Hampshire! Archives
July 2024
Categories |
 RSS Feed