|
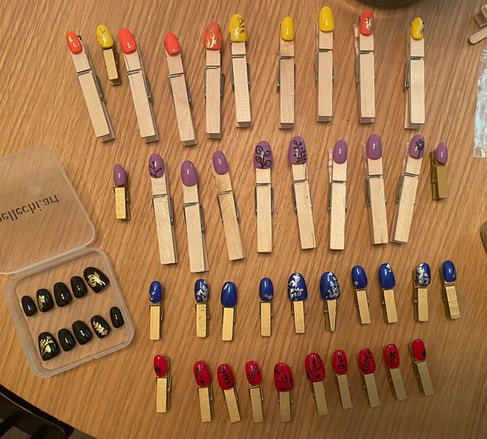
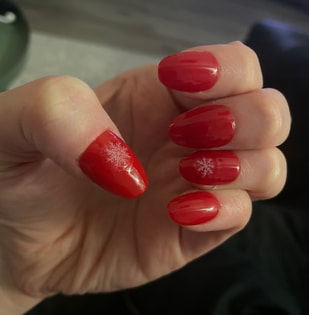
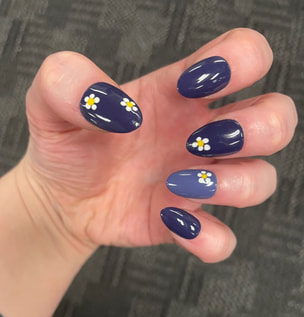
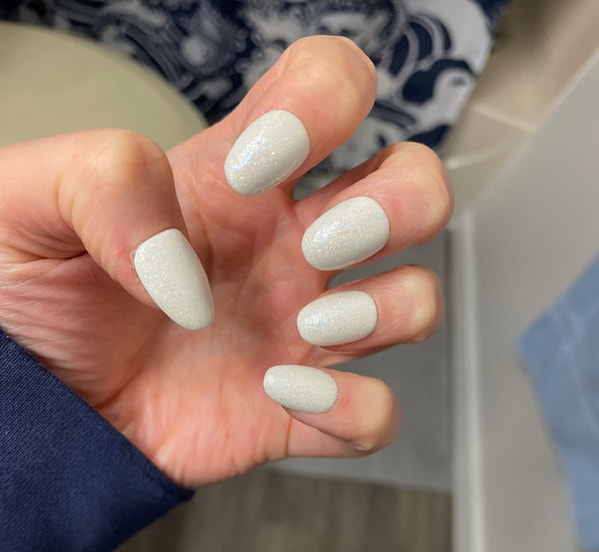
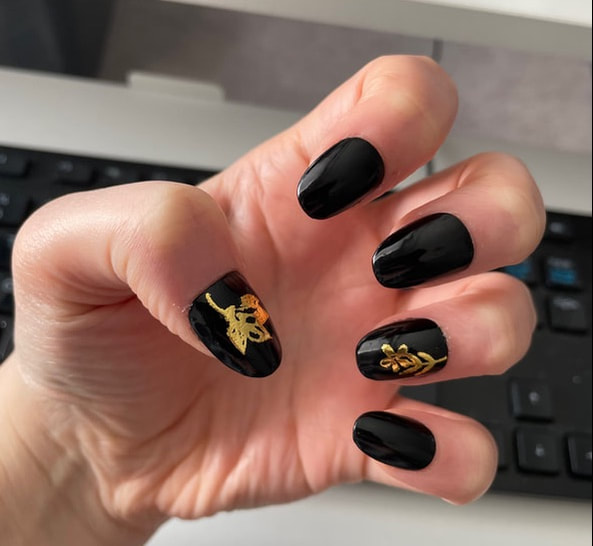
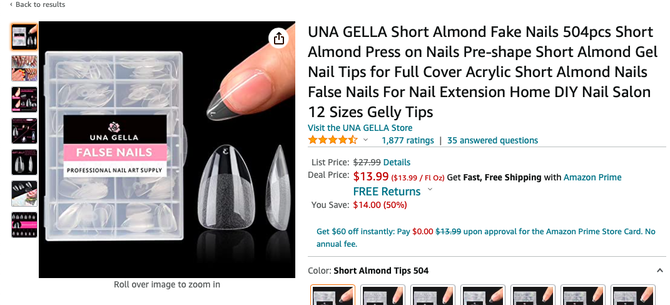
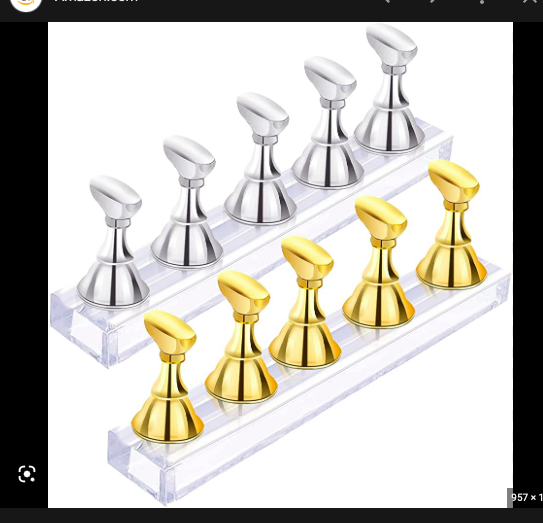
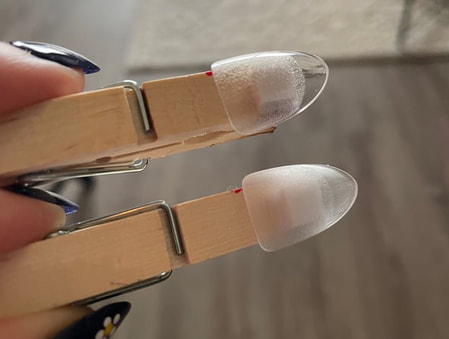
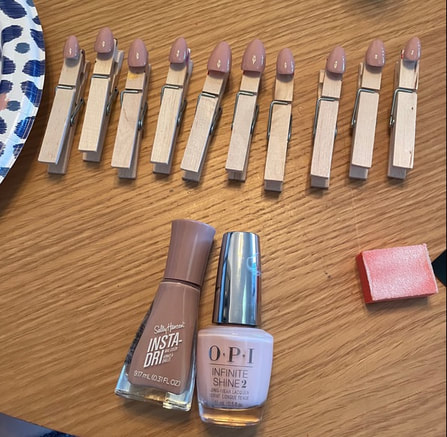
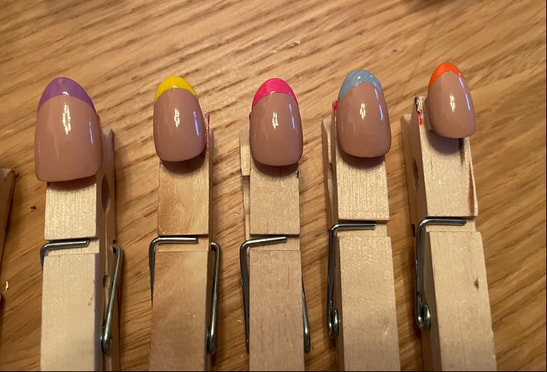
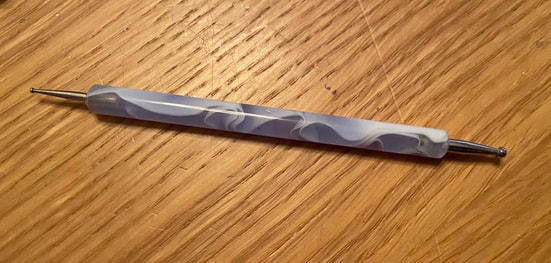
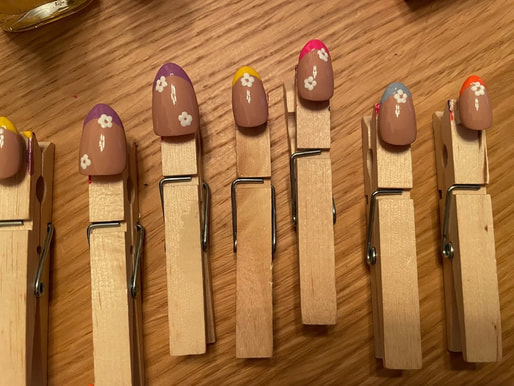
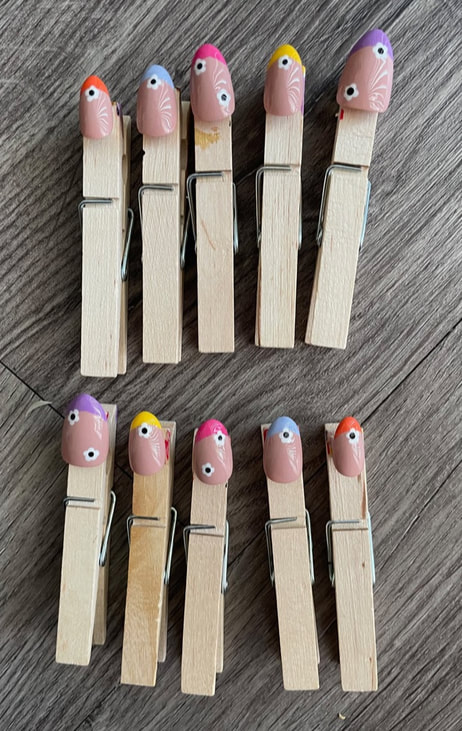
Hello everyone! I hope you all are having a lovely Easter, if you celebrate! Today I wanted to share something a little different and talk about how easy it is to make your own nails at home if you wanted to give it a try. I go through phases with my nails where sometimes I want them to be natural and other times I want colorful talons so I have spent some time teaching myself how to make my own fake nails for the occasions when I would like them. Here are some examples of ones I have made in the past: To start off, I got myself a large set of false acrylic nails off of Amazon. You can get boxes of about 500 nails for under $15 dollars. The brand that I bought most recently was called UNA GELLA and I went for a short almond shaped nail. I sometimes cut down the nails to make them even shorter, but lately have been keeping them a bit longer, the length that they originally come. You could also buy a holder that is specifically meant for painting nails, but, as you can see in some of the photos above, I use wooden clothespins instead as a cheaper option. I put a few little squares of foam adhesive on the clothespins and then stick the nails on top. This provides enough stick to keep the nails in place as I work on them, but they are also easy to remove once I am done. I test the size of the nails against my natural nails to be sure I have a set that fits me properly. You may even find that the same finger on each hand is not the exact same size. Once I have picked the nail sizes that work for me, I then start by using a nail file to buff the nails up a bit as I feel like this helps the polish adhere better. I'm not sure if you can tell in this photo, but the bottom nail is buffed and the top one is still shiny. Once all of the nails have been buffed, I then go in with whatever base coat I would like. For these nails, I wanted to try a colorful French tip so I just went for a nude color. I mixed a darker nude and a light pink together to get the shade I wanted and then did 2 coats. Once the base coat was dry, I then went in and freehanded some French tips in different colors. You can also find some French tip sticker templates if you want to make sure your French tips are very precise, but frankly I am too impatient for that. If you only have a few nail polish colors, you can always mix them together just like paint to get some variety in your shades. Once the tips were dry, I then went in with some white nail polish to start making some flowers. One nail tool that I do have is this little metal tool with balls at the end to help make dots. These can be found at any drug store and make adding details much easier. I used the smaller side of the tool and did 5 little dots to look like a flower on each nail. I also ended up putting a little black dot in the center of the flowers as you will be able to see in the final pictures! I then gave the flowers a good 2 hours to dry before doing a top coat. Something I have learned is don't do too many stokes on the top coat as there is always a chance you can make the lower nail polish wet again and smudge your designs. I ended up doing 2 coats of clear top coat. I also always let my nails dry overnight fully before putting them on to make sure there is no chance of smudges. I do not have a specific brand of nail glue or nail adhesive tabs that I use so find what is best for you!
And that is how I make some false nails at home when I feel like wearing them! It is not too hard to do and can be relatively cheap once you have the base set of supplies required. Let me know in the comments below if this is something you would ever try! - Rebecca P.S. Today's photo on the homepage is from Pexels user Lisa Fotios: www.pexels.com/photo/woman-with-black-manicure-holding-white-and-grey-floral-ceramic-cup-851219/
1 Comment
2/4/2024 10:22:32 am
Thanks for sharing a good and informative blog.
Reply
Leave a Reply. |
AuthorI am a 27-year-old crafter and baker from New Hampshire! Archives
July 2024
Categories |
 RSS Feed