|
Hello everyone! Today we have the tiniest of blogs as I was a bad craft blogger these past few weeks. I did not take any photos of this craft in process as it is really easy to do, but I will explain as best I can! If you are trying to do this craft yourself, I would go to the Cricut website (link below) and follow their directions for how to use iron-on vinyl as that is what I did! My little blog today is more just an opportunity to give you some inspiration :) help.cricut.com/hc/en-us/articles/360009378254-Everyday-Iron-On-Instructions (This link takes you directly to the page for their "Everyday Vinyl" instructions but on the left-hand side you will see all their other options such as Glitter, Foil, etc. The Cricut brand vinyl I had specifically was Foil.) So when my lovely husband bought my Cricut for me, it came with a few sample rolls of vinyl, one of which was iron-on vinyl. I had not used it yet and decided that it was time to give it a try. I bought some small 6 inch by 5 inch canvas tote bags from Hobby Lobby, as well as a few other colors of iron-on vinyl. I bought some Paper Tree brand vinyl to see how it compared to the Cricut vinyl I already had. Both worked really well! There are a few important things to remember when cutting out iron-on vinyl as opposed to cutting out adhesive sticker vinyl. When cutting a sticker, you want the vinyl face up so that the image is cut out and the backing is left in tact. Iron-on vinyl has the backing on the front so you need to flip the vinyl over so that the good side is down. This will ensure that the back side of the vinyl, which is actually the iron-on part, is cut and the front backing will remain in tact. For iron-on vinyl. you peel the backing off the front once it is ironed down, as opposed to peeling the image of a back sheet like you would for a sticker. You with me? It's also important to remember to mirror your image if it's something that has one clear orientation like writing. My images for this project were all simple like a sun, flower, butterfly, etc. so the image being flipped was not a problem. But if you are using writing or your image needs to go in one particular direction, use the mirror option so that everything is correctly oriented when you flip it over and get ironing. The mirror option can be chosen when you get to the printing screen in the Cricut Design Space. Two small things I did which the Cricut instructions did not mention was to use parchment paper when ironing and to add a piece of cardboard inside my bag. Using cardboard allowed a flat base that I could press the iron onto and parchment paper honestly just made me feel better. According to Cricut, you should be able to iron directly on the protective backing for the iron-on vinyl but I was a wee bit stressed so I added a sheet of parchment paper in between. I have blabbed on enough with no images to help you understand so here are the 8 bags I have made! hopefully the images will help it all come together. When the iron-on vinyl was adhered, I also made some cute little letter bead and small glass bead charms to hang from the strap. Although you are only seeing one side of the bags, I did cut out 2 of the same images so the front and back have the same iron-on image in the same color. 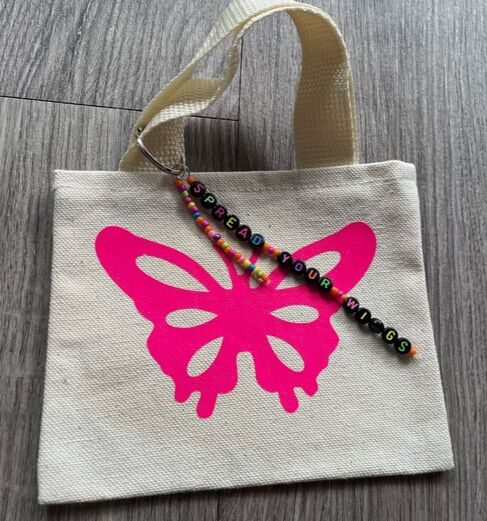 Next we have foil gold crown with "shine like gold" charm. 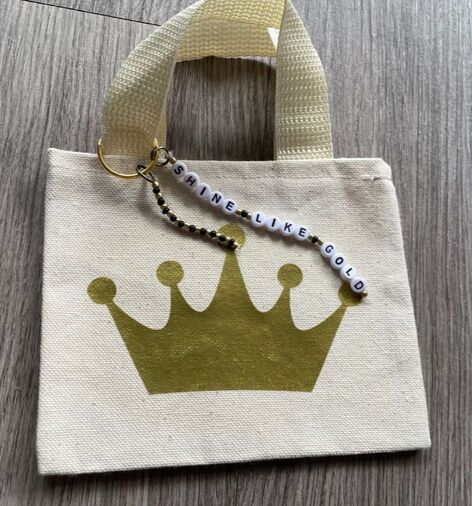 And black galaxy with "reach for the stars" charm. 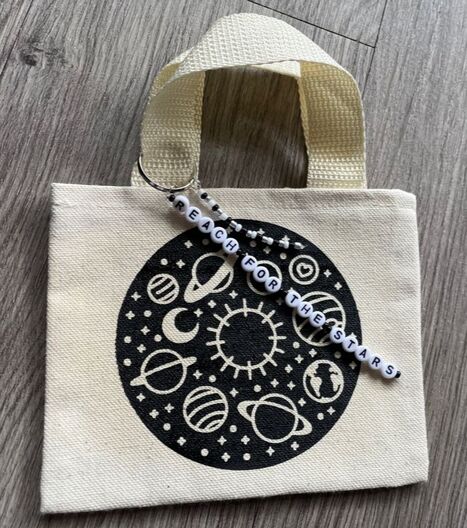 Neon orange sun with "shine bright" charm. 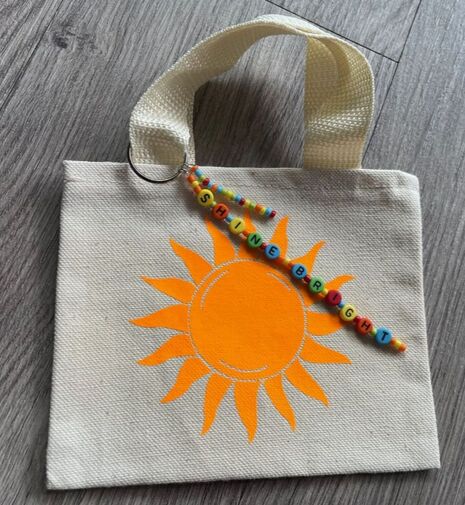 Foil purple flower with "time to bloom" charm. The next 4 are all foil and the lighting is not doing a great job of showing the true color of the vinyl! All colors are much brighter than they appear. 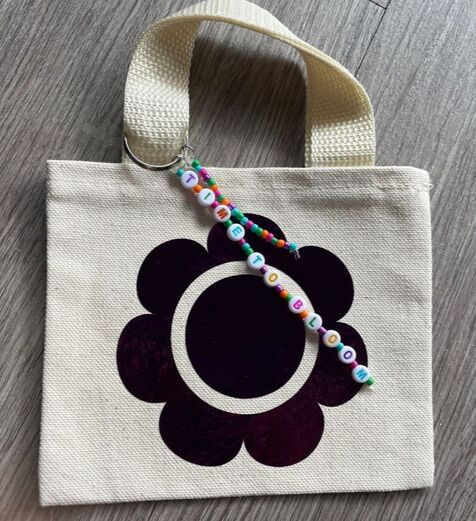 Foil red heart with "love yourself" charm. 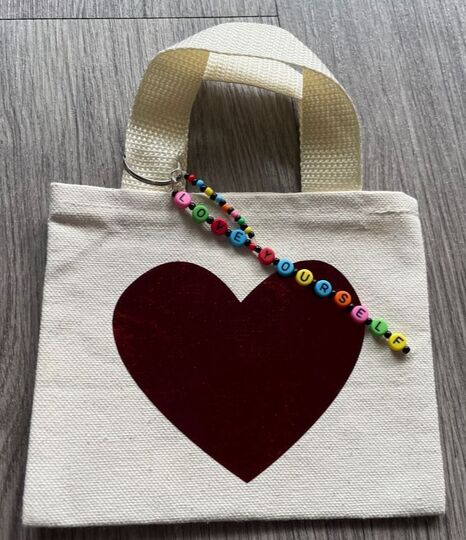 Green foil trees with "grow tall" charm. 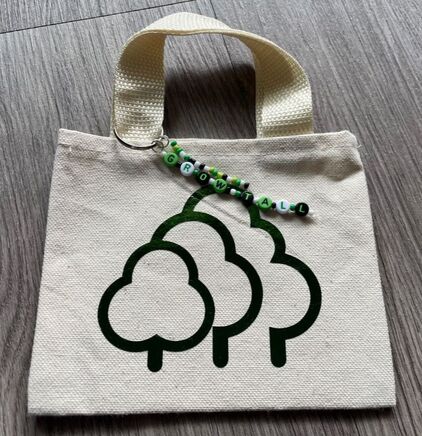 And finally, blue foil star with "you are a star" charm. 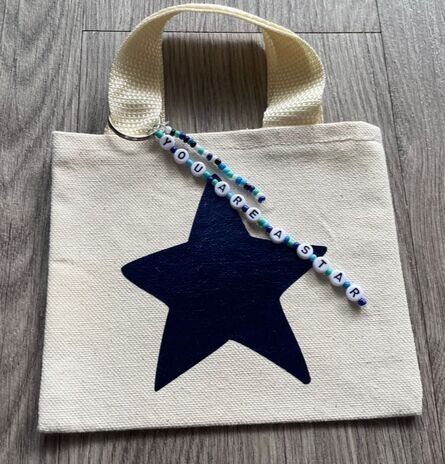 I also bought some small zipper canvas bags, some pencil case size and some slightly smaller so I will be working on those soon too! 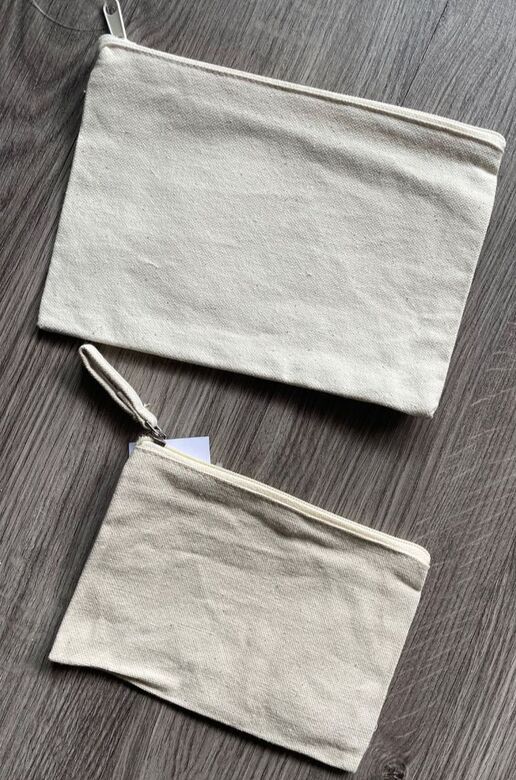 And that's all folks! Sorry this blog was not so in depth, but hopefully this gives you a little inspiration if you are looking to try out some iron-on vinyl! Get crafting everyone!
- Rebecca Today's photo on the homepage is from Pexels user Pixabay: www.pexels.com/photo/green-white-philips-iron-53422/
0 Comments
Leave a Reply. |
AuthorI am a 27-year-old crafter and baker from New Hampshire! Archives
July 2024
Categories |
 RSS Feed
Proudly powered by Weebly