|
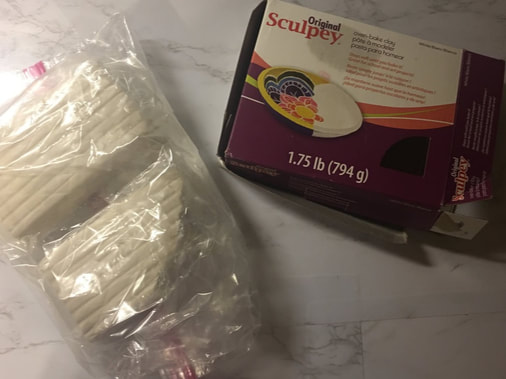
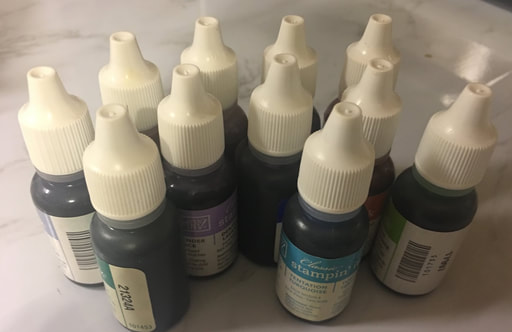
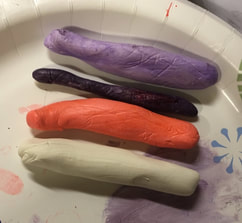
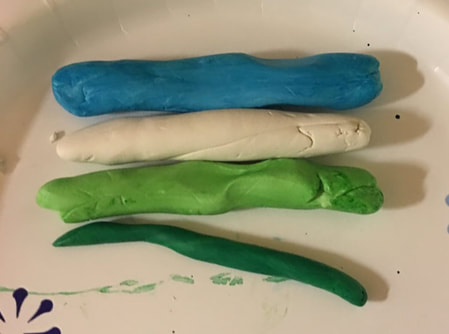
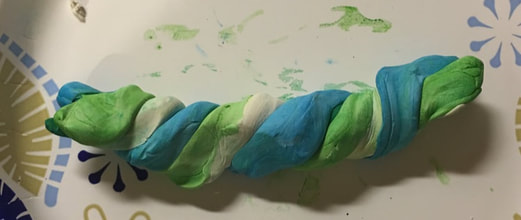
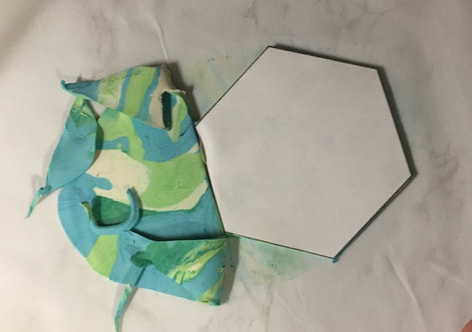
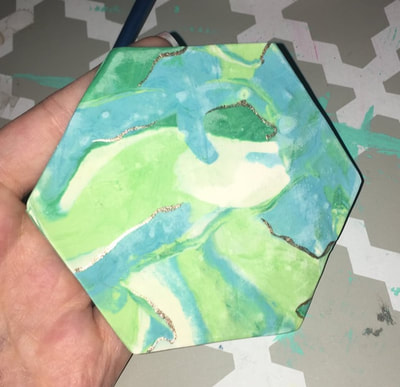
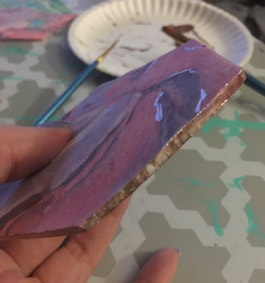
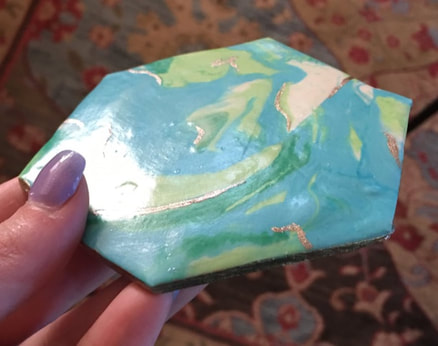
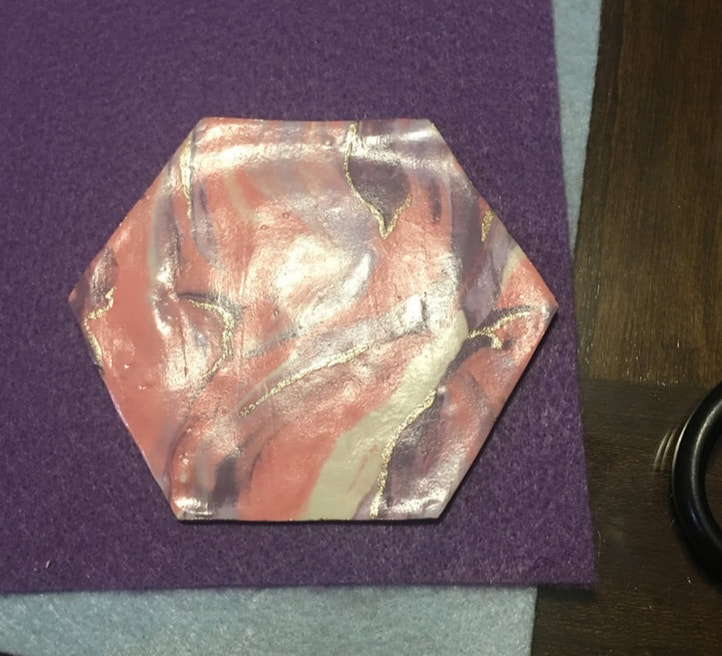
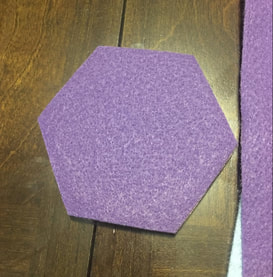
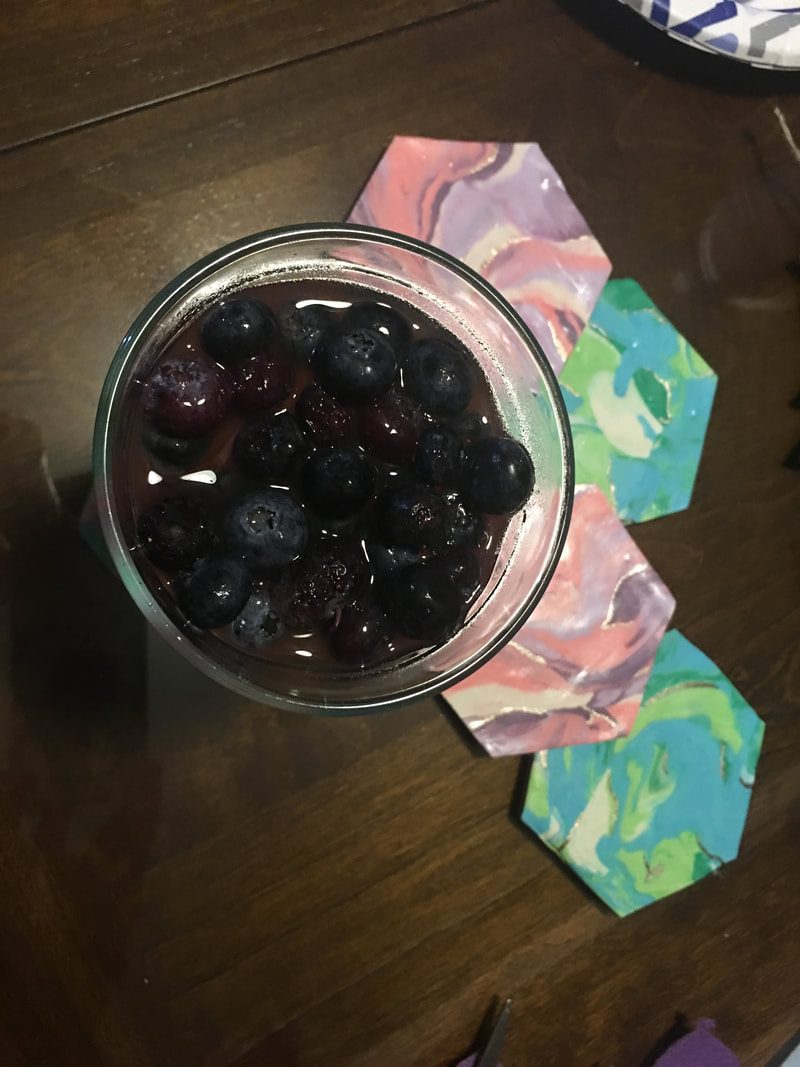
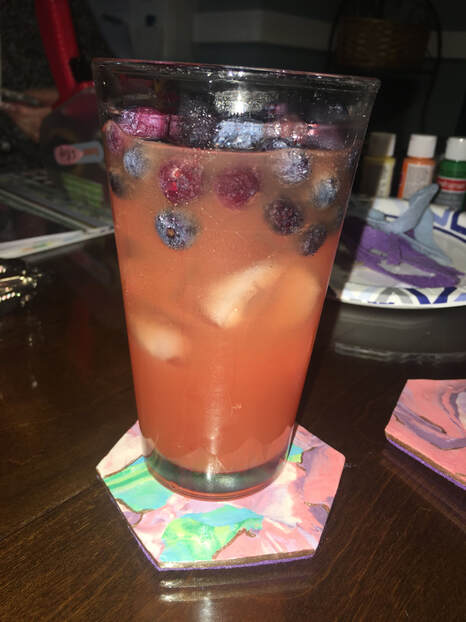
Hello friends!! I’m back at it again with a fun craft, some homemade coasters. I saw this idea on one of those Five Minute Craft-type videos that pop up on everyone’s Facebook feed and decided to try this on my own with a few adjustments. I started with some oven bake clay in white. The coasters from the video I saw were marbled with different colors and I only have white oven-bake clay so I thought I would try my hand at dyeing the clay myself. I have quite a few of these Stampin’ Up re-inkers which are bottles of highly pigmented dye that you are supposed to use when your stamp pads are drying up which I thought would work well enough for dyeing the clay. I put on some latex gloves and then got to work on dyeing. I had made a test run of this coaster idea earlier and had not put on gloves and dyed my hands magenta for a few days so I would highly recommend springing for some gloves. I took a small amount of clay and squirted a few drops of dye onto it and then just worked the dye throughout the clay with my fingers until the color was fully incorporated. I dyed some clay blues and greens for one set of coasters and then purples and pinks for another set. I rolled the colored clay into logs and then lined up a few colors with a log of plain white clay as well. To get the marbled look, I started twisting and folding the different colors of clay together until they were intertwined, but the colors had not yet started to bleed into one another. Then I put the clay between two sheets of parchment paper and rolled in out using a rolling pin. Once I had it rolled out thin enough (about ¼ inch), I used a paper template of a hexagon that I had printed out to cut out the coaster shapes. My hexagon was about 4 inches wide and tall, but you could make your coaster smaller or bigger if you wanted to. I was able to make 2 blue/green coasters and 2 pink/purple coaters and then use the scraps to make a fifth multicolored one. I cooked the clay according to the direction and then let it cool for a few hours so it could harden completely. Once the coasters were hardened, I used some fine sandpaper to sand away any rough edges on the sides or top of the coaster. Once I was done sanding, I went in with a thin paintbrush and some gold nail polish to create some gold accents in the marbled design of the coasters. I also painted the edges of the coasters with the gold nail polish as well just using the nail polish brush in the bottle. Once the gold nail polish was dry, I went over the top of the coasters with two coats of my favorite clear varnish to seal them and give them some nice shine. Here's a fun picture to show how shiny they are! Once the varnish was dry, I got the glue gun heated up and glued the back of the coasters to some felt in a coordinating color and cut the felt away around the edges to give the coasters a nice soft base. And here are the coasters are all done and in action! They were holding my delicious alcoholic beverage for the evening. I really love how these came out, but don't think they are viable to make for craft fairs because of the work it took to just get 5 coasters. I may keep these for myself or give them as a gift.
Let me know what you guys think in the comments below! - Rebecca
1 Comment
Momma
10/9/2019 10:15:46 pm
I really like the color combinations. They have a beautiful watercolor look.
Reply
Leave a Reply. |
AuthorI am a 27-year-old crafter and baker from New Hampshire! Archives
July 2024
Categories |
 RSS Feed