|
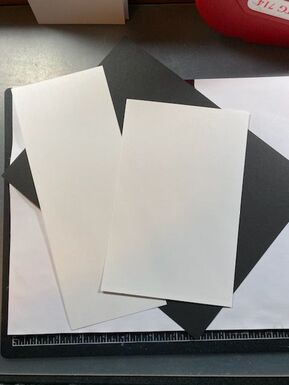
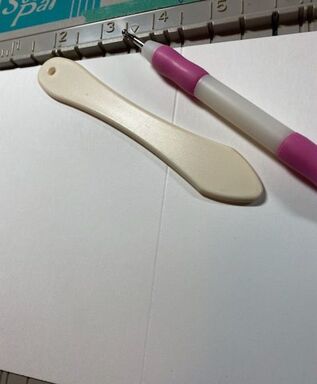
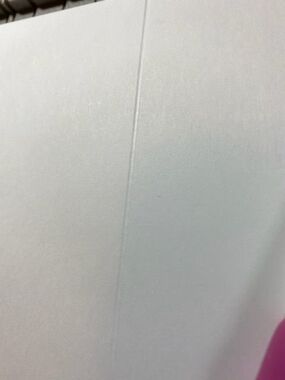
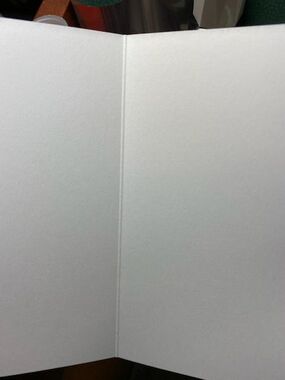
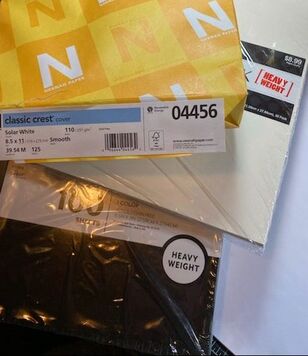
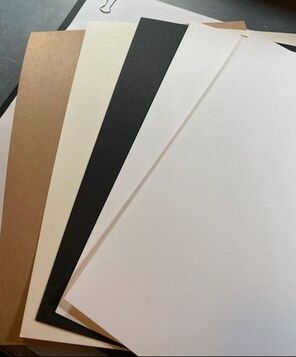
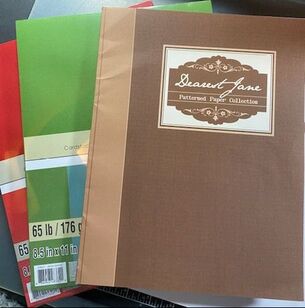
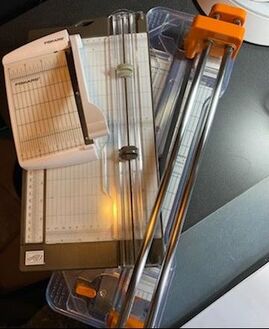
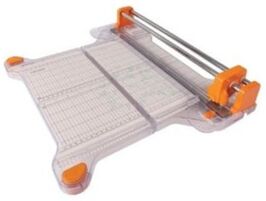
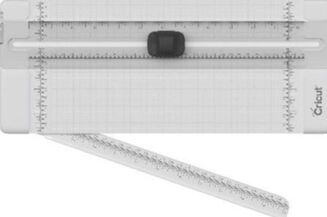
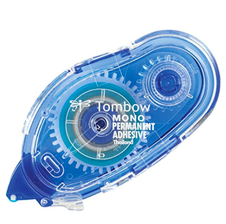
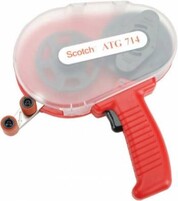
Hello! It’s Suzanne, Rebecca’s Momma, back on the blog today with my first Sunday edition. Today’s post is a special request from Rebecca, who was chatting with a friend of hers (hello Julia!) about card making and adhesive. From that convo, Rebecca thought a “Cardmaking 101” post, with some basic tips and tricks, would be a good thing. Please note that while I might mention brand names, these are personal preferences curated from close to 30 years of paper crafting and that neither Rebecca nor I gain any profit from any you might choose to purchase. Let’s start with sizes. Most card makers make cards that are A2 sized – a 4 ¼ X 5 ½ inch finished size. This is also called “invitation size”. You get this size by slicing a regular 8.5 X 11 inch sheet of card stock in half either horizontally (to get an 8 ½ X 5 ½ inch piece) or vertically (to get a 4 ¼ X 11 inch piece) and folding the resulting piece in half. Envelopes for this size card are widely available on Amazon as well as in craft and big box stores. Another popular card size is 5 X 7, which requires a base size of 10 X 7 inches, folded in half. Speaking of folding, it’s always a great idea to score your paper before folding it. Scoring the paper makes an indentation where the fold will go, loosening the fibers of the paper so it will fold more neatly and doesn’t crack. While you might think that you should fold the indentation to the inside of the card, you should actually fold that to the outside, as it’s the part of the paper that has been stretched and will lie flatter. Many paper cutters come with a scoring blade (more on that later) or you can score your paper using a scoring board. You can also just use a ruler with a stylus, a bone folder or a dull butter knife. What are you going to cut and score? Paper, of course! Or, more specifically, cardstock. A good sturdy card stock is what you need for a card base. If you are just starting out, white is the way to go. My personal favorite is Neenah Paper 4456 110lb Classic Crest Cardstock. This is a great, heavyweight stock that makes an impressive card that stands well on its own. It stands up well to any embellishment that you add to it and you can stamp and color on it with no bleed through. Other good options are the “heavyweight” Paper Studio paper at Hobby Lobby and Stampin’ Up’s Basic White. As you expand your stash, black, cream and kraft also make great neutral card bases. 65lb paper is much lighter and a good option for adding layers to your card without adding additional weight. This is the weight of paper that usually comes in multicolor paper packs or paper pads. This is also a great weight for patterned paper to add interest to your cards. You’re going to need something to cut this paper. A good paper cutter is a life saver in paper crafting. While you can use scissors, a paper cutter will ensure that you have clean, straight cuts and the built in measuring tools will make measuring your pieces so much easier. There are three basic kinds of paper cutters. A rotary trimmer has a round blade that slides along a rail. These provide a very clean and accurate cut. They are large and take a good amount of space to store. A guillotine cutter has an arm with a blade that is manually pulled down through a stack of paper. You can generally cut more paper at a time with a guillotine trimmer and the blade is self-sharpening, but your paper may shift, providing a less accurate cut. A bypass trimmer has a small blade that runs in a groove along a track. This type of trimmer also often comes with an additional non-cutting scoring blade that you can use to in the same track. The cutting blades tend to dull quickly and have to be changed often. These cutters are small and easy to store. Most paper trimmers will come in a regular and mini size. If you are going to buy just one, I recommend the Fiskars Precision Rotary 12 inch Trimmer. It’s a big boy, but it provides the best accuracy of any trimmer I’ve ever had and the blade will last a very very long time. If space is an issue, I’ve been very satisfied with the Cricut Portable Trimmer. You will have to change the blade frequently, but it’s a good little cutter. Adhesive holds it all together. You have two basic choices – wet or double sided adhesive. Both have their place, but not all are created equal. For wet glue, your Elmer’s school glue is just not going to cut it anymore. You need something with less wet, more tack and shorter drying time. You also need a light hand – less is definitely more. For liquid, Tombow Mono Multi Liquid Glue is the gold standard. It’s inexpensive and a little goes a long way. Because it’s wet, you also have a few seconds of wiggle to straighten things out if they are not quite right. For double sided adhesive, there are a couple of options. A tape runner is the most common. This type puts a line of double sided adhesive down on your paper so you can press it into place on your project. Small disposable ones like the Tombow Mono are a good option for a now and then paper crafter. I like this bad boy – the Scotch ATG 714. It’s the same concept – just a larger, refillable roll, so there’s less waste and the roll lasts longer. The downside of double sided tape is that there is no wiggle room. Once that paper is down, it’s down, so you have to commit to placement. To be honest, these are really the only ones you need for most card making. Unless you get into lots of different kinds of embellishment where specialty glues are needed, these two types will get the job done.
From there, it’s all embellishment. In part two, I’ll talk more about stamps & stamp pads and paper punches & die cutting. Rebecca here! Let me know if you guys enjoy these more basic tutorials on some standard crafty methods! Whatever you celebrate this holiday season, I hope you have a safe and relaxing holiday filled with love. Don't forget to check out the shop tab too for all sorts of amazing gifts! See you in 2021! - Rebecca & Suzanne
3 Comments
Elaine Smith
12/20/2020 10:02:46 pm
No doubt it’s one yours. Your thank card and wedding invite were beautiful.
Reply
Debbie R
12/21/2020 05:36:43 am
This was a loverly tutorial. Nice job to both of you!
Reply
Leave a Reply. |
AuthorI am a 27-year-old crafter and baker from New Hampshire! Archives
July 2024
Categories |

 RSS Feed