|
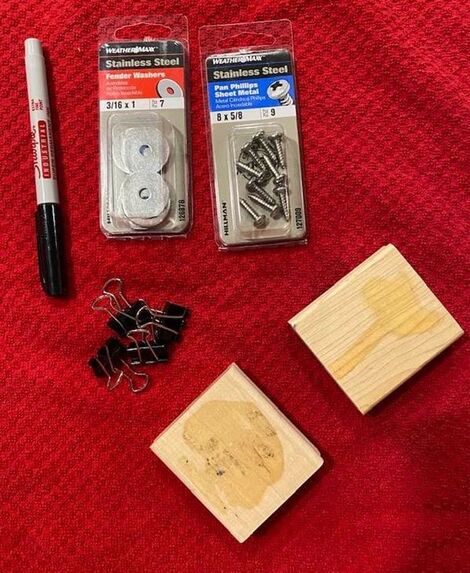
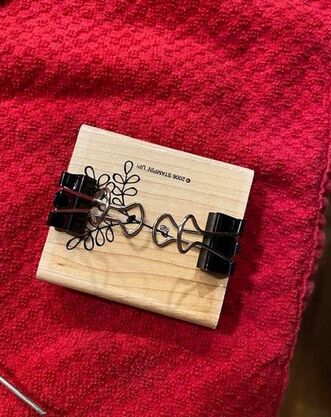
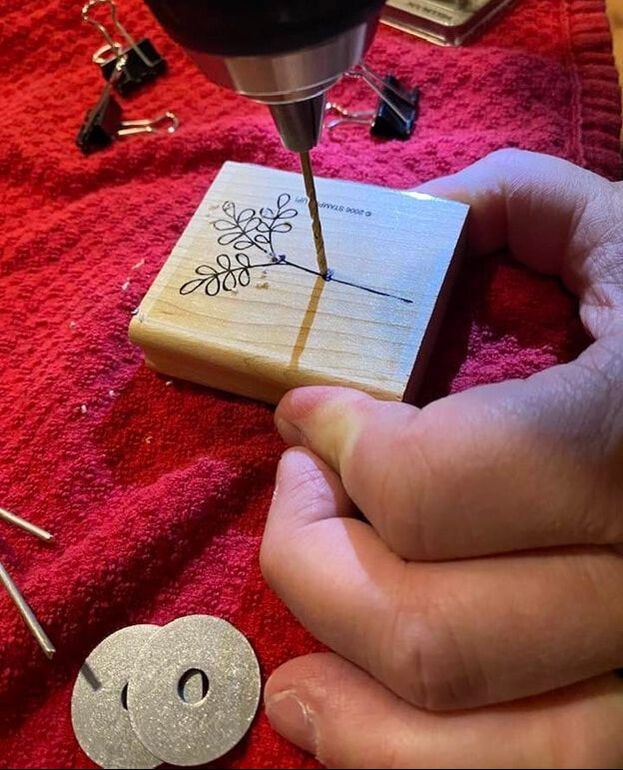
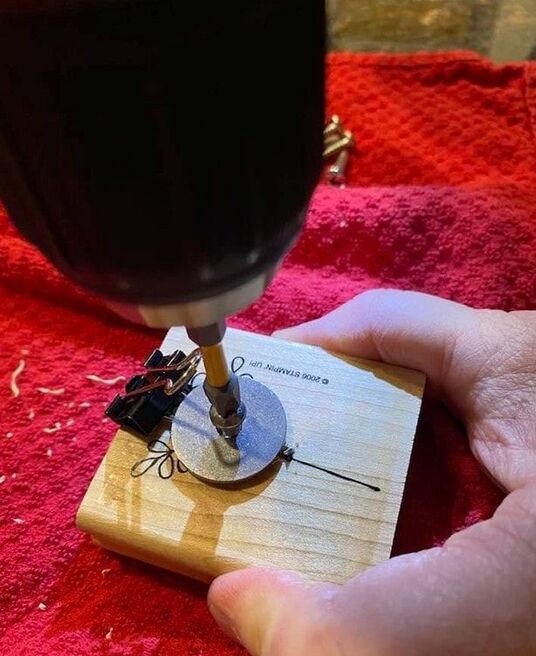
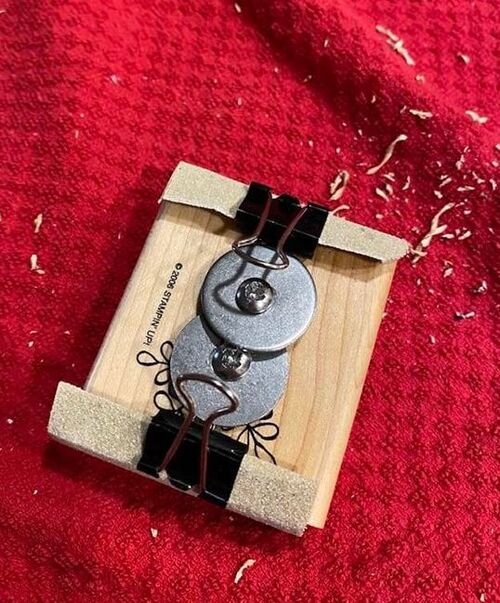
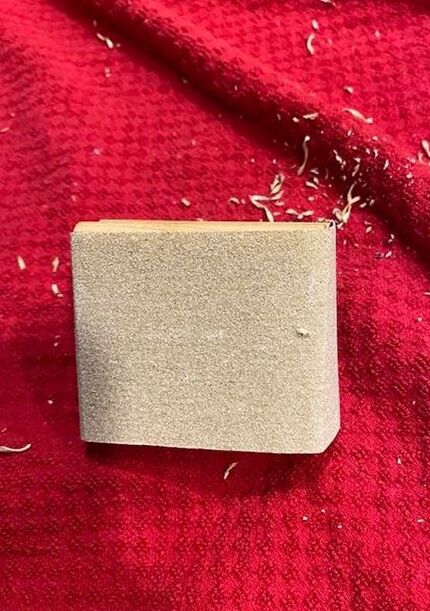
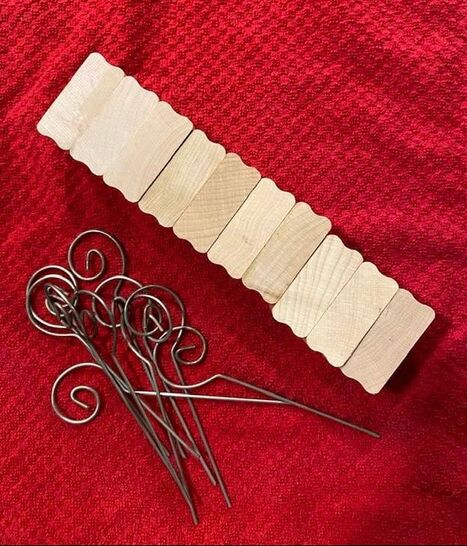
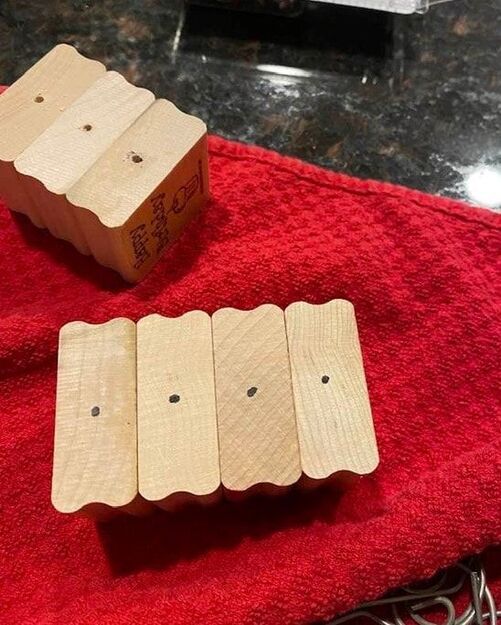
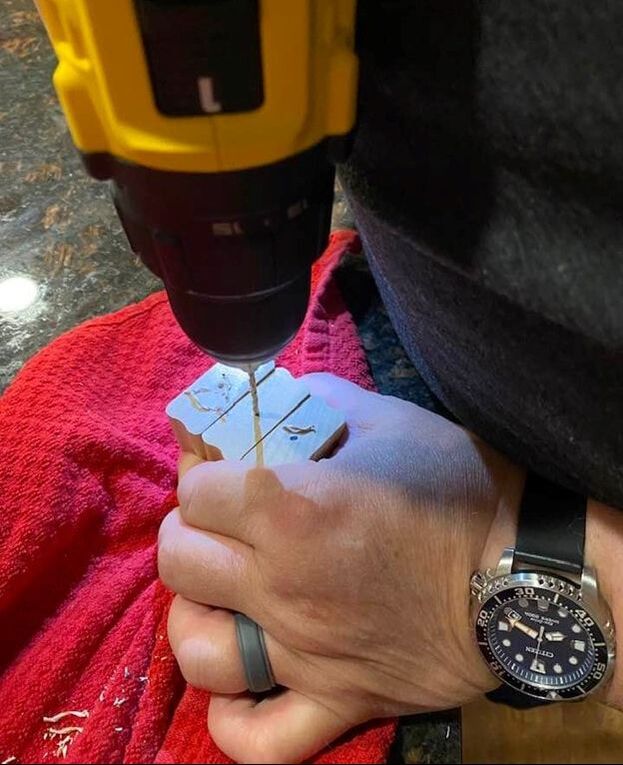
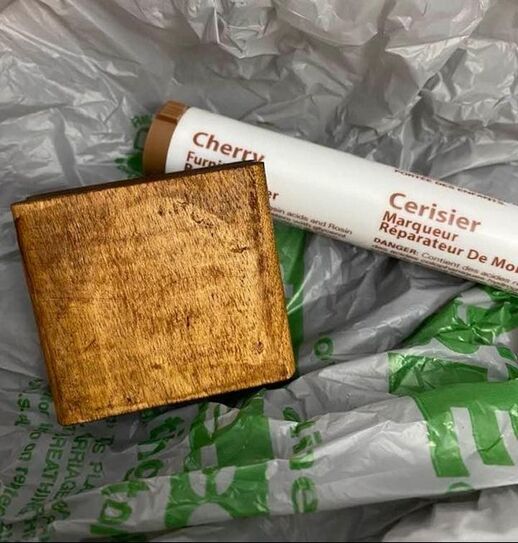
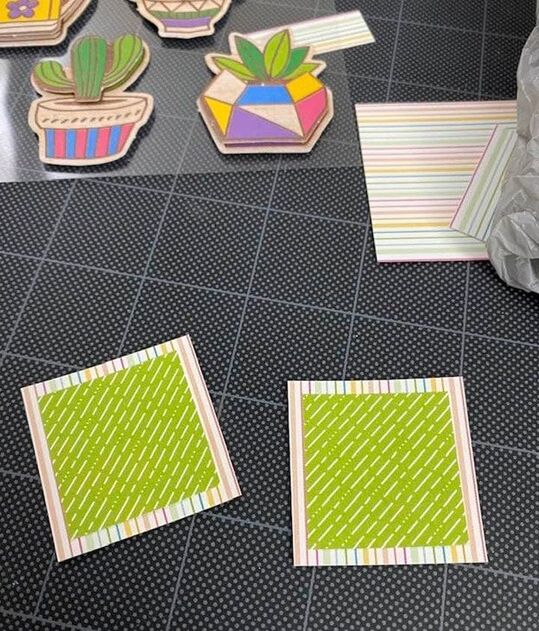
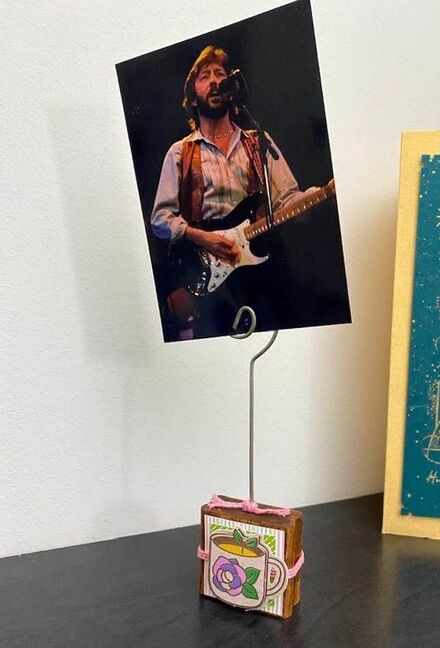
Hello again! It’s Suzanne back on the blog with a special guest this week – my sweet hubby and Rebecca’s dad Paul. He’s going to be putting together part one and helping on part two of this week’s two-part block party. A while ago, to save storage space, I removed most of my rubber stamps from their wooden blocks. I kept a few of the blocks to use in future craft projects and today, I’ve got two quick and easy projects that can easily be duplicated with any small block of wood you might have available. First up is Paul’s idea. We are going to make a small sanding block that is the perfect size for the small sheets of sandpaper that are sold at the dollar store. This quick project takes one block, two small binder clips, two washers, and two screws. First, position your binder clips at each side of the block with the openings facing out. Mark where the handle of the binder clip lands so you know where to drill a pilot hole for your screw. Once the pilot hole is drilled, screw a washer over the handle of the binder clip to hold it in place. Repeat on the other side and clip your sandpaper in place. You now have a perfect little sanding block for small craft projects. The second quick project today is going to make use of more blocks and these picture holders that I’ve had in my stash for so long that I can’t remember where I got them. I started by marking a spot on each for Paul to drill a small hole in each of the blocks. After peeling off the label and giving the block a quick sanding with my new sanding block, I gave it a coat of faux stain with a furniture repair marker. These markers are a quick and easy way to mimic the look of stain on a small project without having to pull out a can of stain. While the block was drying (which takes only minutes), I cut some squares of cute and colorful paper and layered them together. I picked papers that matched some adorable cutouts I picked up recently. Using hot glue, I added the paper squares to the front and back of the block and wrapped some baker’s twine around the block. I added one of the cutouts and then secured the picture holder in the pre-drilled hold with gel super glue. As a final touch, I added a knot of the same baker’s twine around the base of the picture holder. In honor of Paul’s contribution to this week’s projects, my first finished product features Slowhand himself, Eric Clapton. I have nine more blocks ready to go to make more. Thanks for stopping by!
Rebecca here! A big thank you to my parents for the great ideas today! Today's photo on the homepage is from Pexels user FWStudio: www.pexels.com/photo/brown-wooden-panel-172277/
0 Comments
Leave a Reply. |
AuthorI am a 27-year-old crafter and baker from New Hampshire! Archives
July 2024
Categories |
 RSS Feed