|
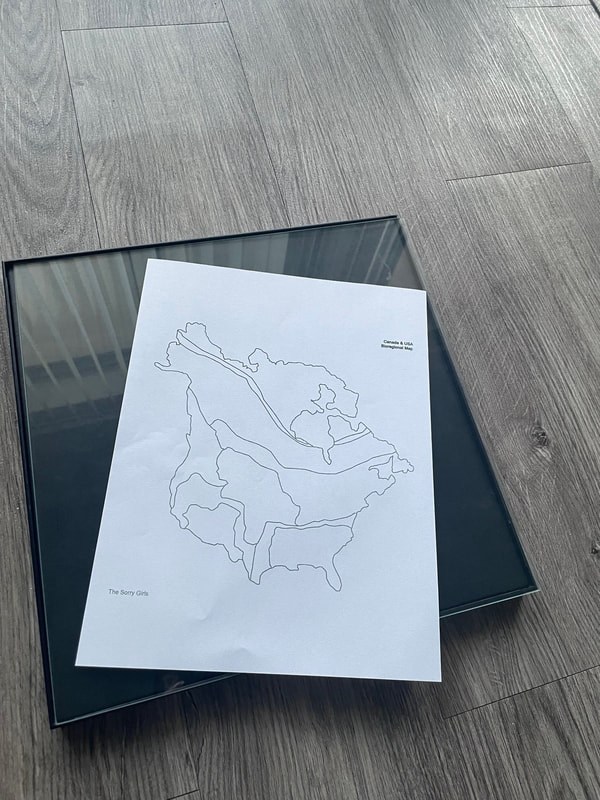
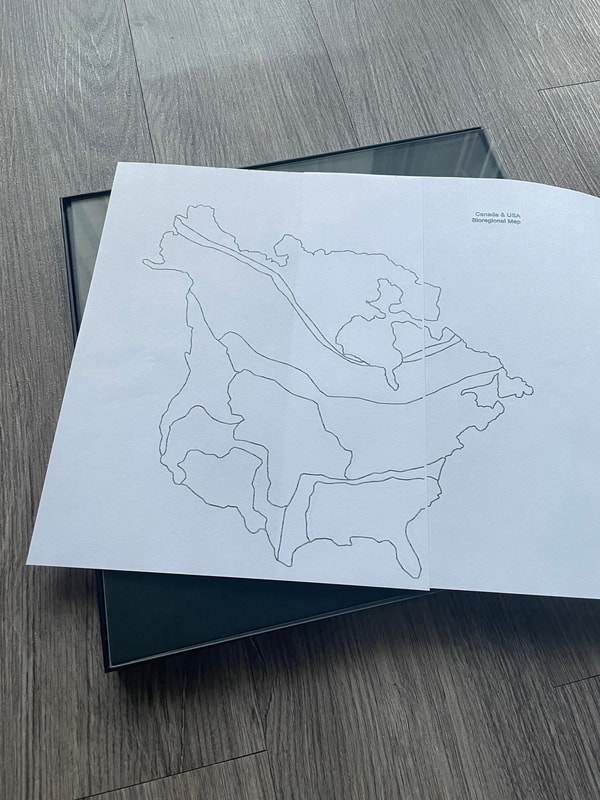
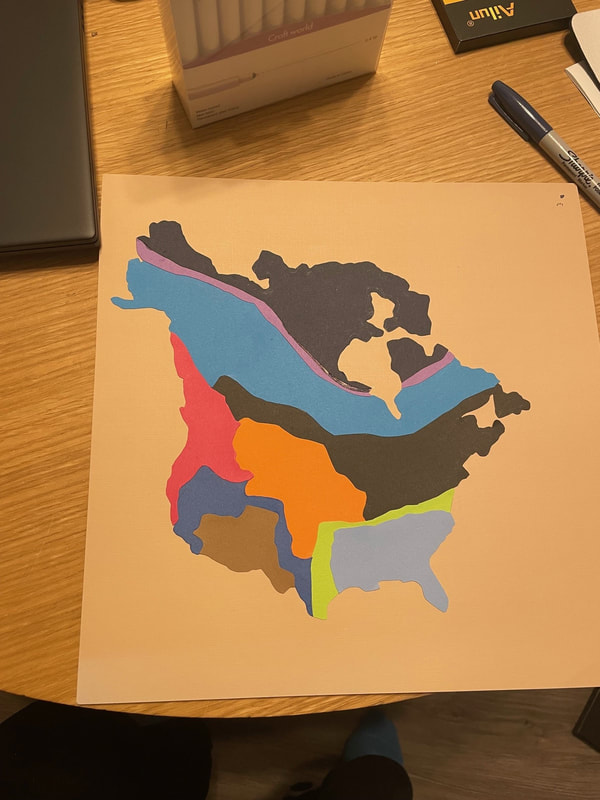
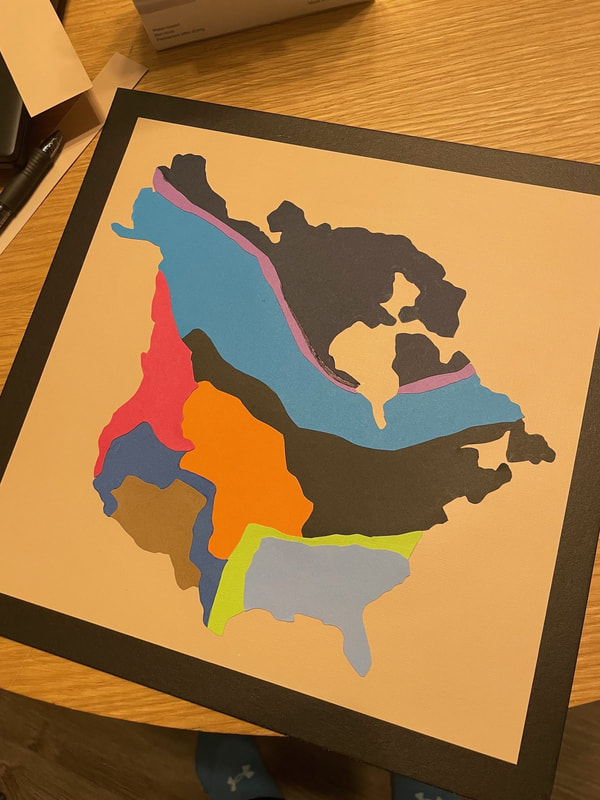
Hello everyone and happy Sunday! Today I am here with a fun and simple craft I made yesterday. I subscribe to a YouTube Channel called The Sorry Girls and in a recent video, one of the women on the channel made a very cool wall tapestry featuring a map of the United States and Canada. Here is a link to the video so that you can see her project: www.youtube.com/watch?v=omZdgDXREKA The map template that she used was a simplified map of the 2 countries that focused on the different bioregions as opposed to being divided by states or provinces. As I mentioned, the map is very simplified so it does not include Hawaii or the many islands of Canada. I think those would have just been too small and intricate to include in the pattern! The pattern used by the channel is available for purchase and download on their blog for only one dollar so I purchased it and decided to try my own take. If you're interested in the template yourself, you should be able to find it via the YouTube video link I shared above. I decided that I wanted to make my version out of paper rather than fabric and wanted it to fit inside a 12 by 12 frame. I originally printed out the template on a normal sheet of printer paper but felt it was too small so then printed it out across 2 pieces of paper which worked out much better.
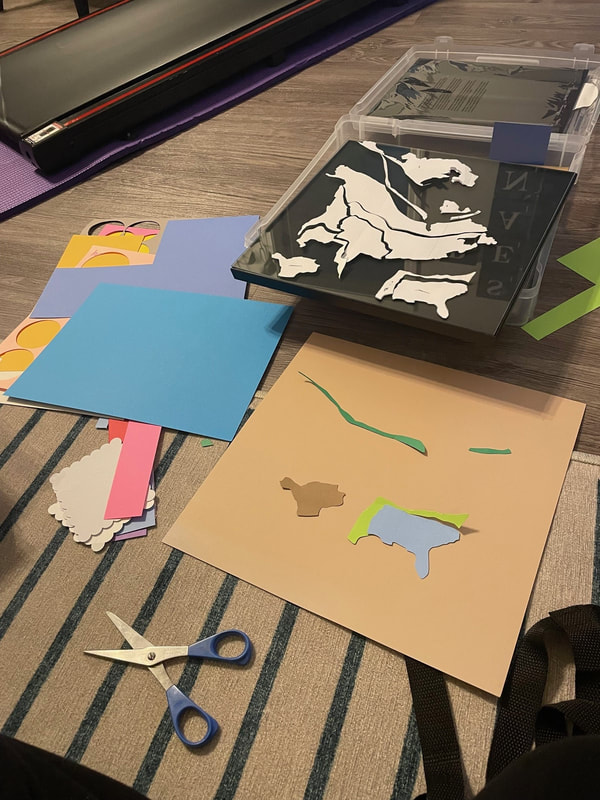
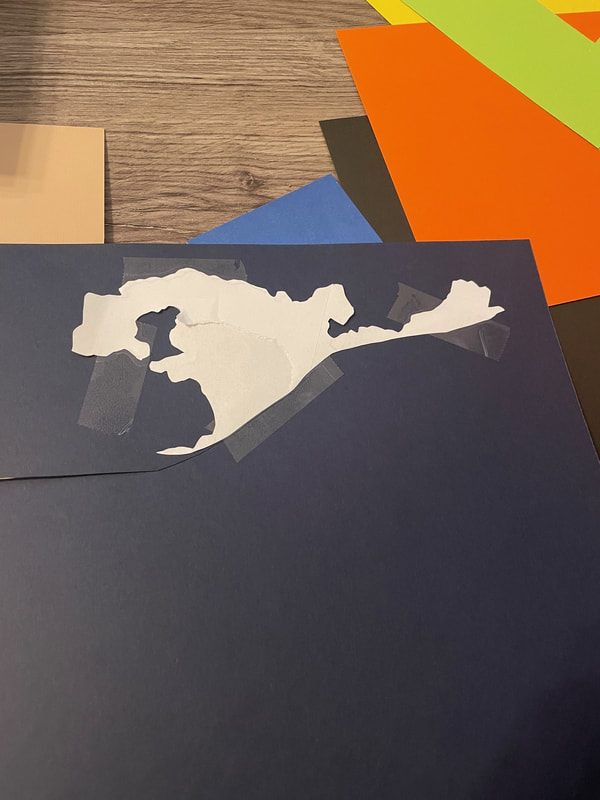
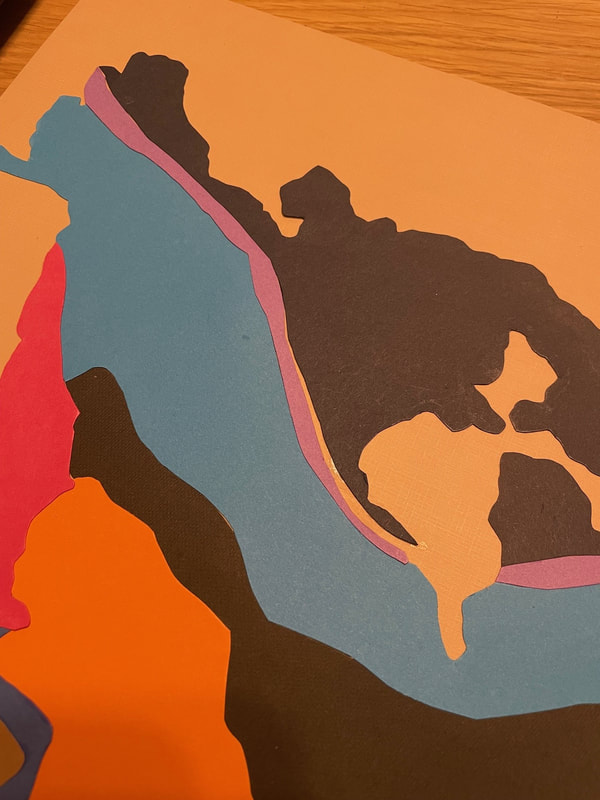
I then cut out all of the different sections of the template. The ones you see that are marked as 1 and 2 were just a reminder to myself that although these pieces did not connect, they would need to be the same color. 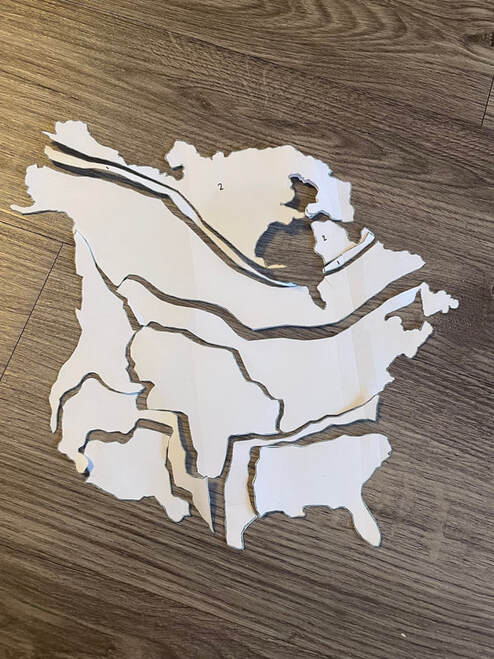 I then pulled out my colored cardstock and started deciding what color I wanted all the pieces to be. I went for a sandy tan color as the background and initially thought I would use just blues and greens for the different sections of the map, but pivoted and added some brighter colors in as well. I started out by just trying to hold the white paper template pieces against the cardstock as I cut around them but that was way more complicated than it needed to be. I realized about halfway through that it made much more sense to tape the white piece to the cardstock so it was firmly in place, cut it out and then gently remove the tape.
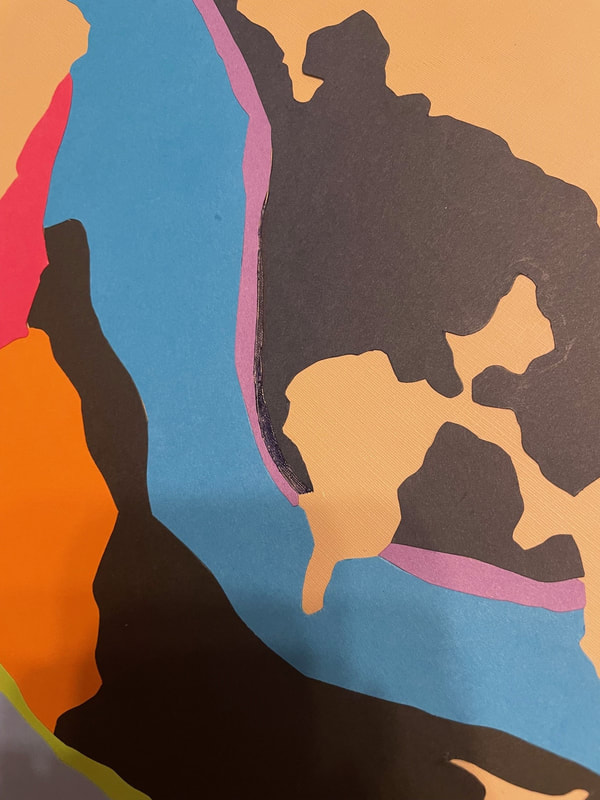
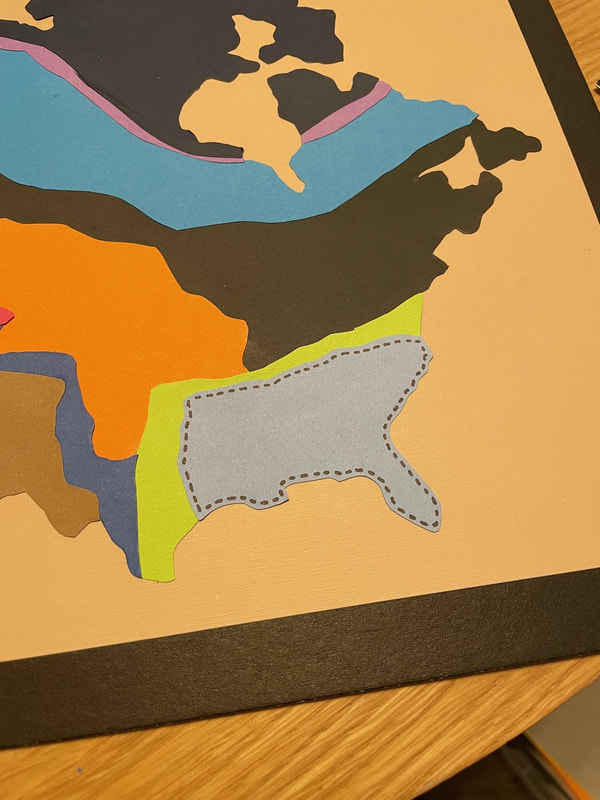
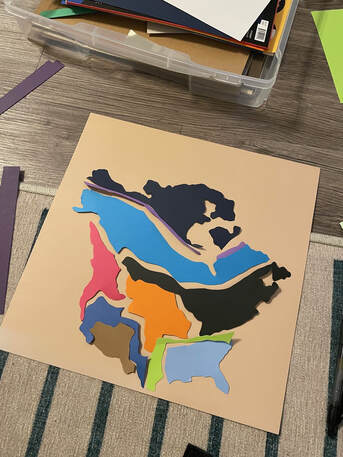 Once I got all the pieces cut out it was time to glue them down to the tan base. I used a liquid glue that is nice and strong but allowed me a few seconds of wiggle room if I needed to reposition anything. I did fairly well lining everything up until the last piece which ended up having a sizable gap that should not have been there. I started by just coloring in the gap with a matching marker color but the difference in texture and sheen was really bothering me.
I finally decided it would just be better to cut out a tiny sliver of the appropriate paper color and glue it down into the gap. It's not perfect, but I do think it ended up looking better than the marker did!
I also tried my best to line everything up so the map would be centered on the tan paper, but once that first piece is stuck down there's really no going back. The finished piece was not as centered as I would have liked so I actually ended up cutting down the sides of the tan paper. I cut varying lengths off of each side to get the map more centered but made sure that the amount I cut off the top and bottom combined and the two sides combined both equaled 1.5 inches so there would be a nice border all the way around. The backing board of the frame was black, so this actually worked out well to look like a picture mat.
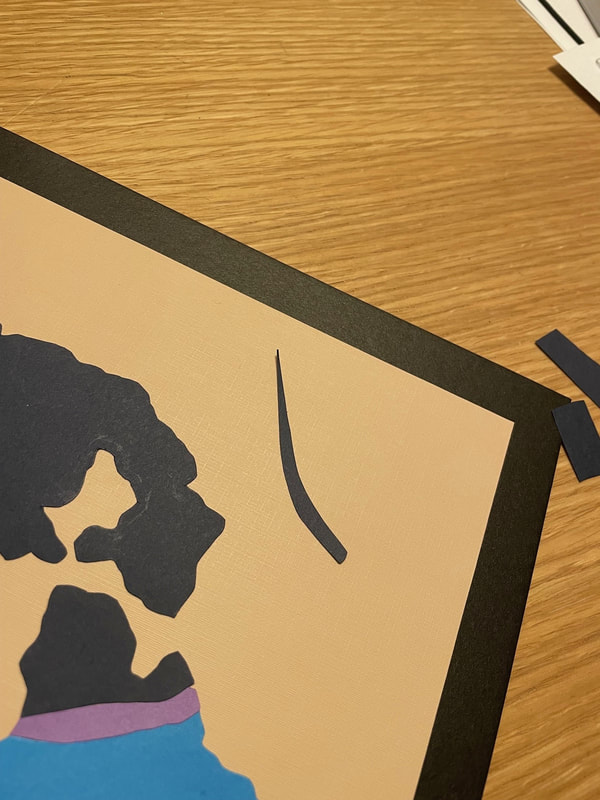
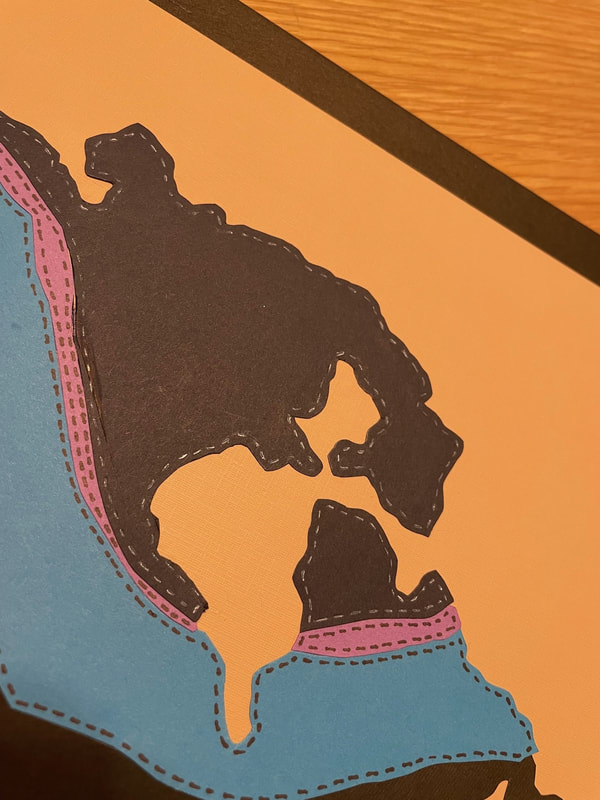
I then felt like it needed some additional detail. The original craft done by The Sorry Girls was a sewn tapestry as I mentioned so I thought it would add some interest to draw on some stitch lines on each piece of the map. I used black on all of the lighter colored pieces and a white gel pen on the black and navy-blue pieces.
I then popped the piece into a frame and it was good to go! It now lives as part of a gallery wall I have behind me when I'm sitting at my work desk. 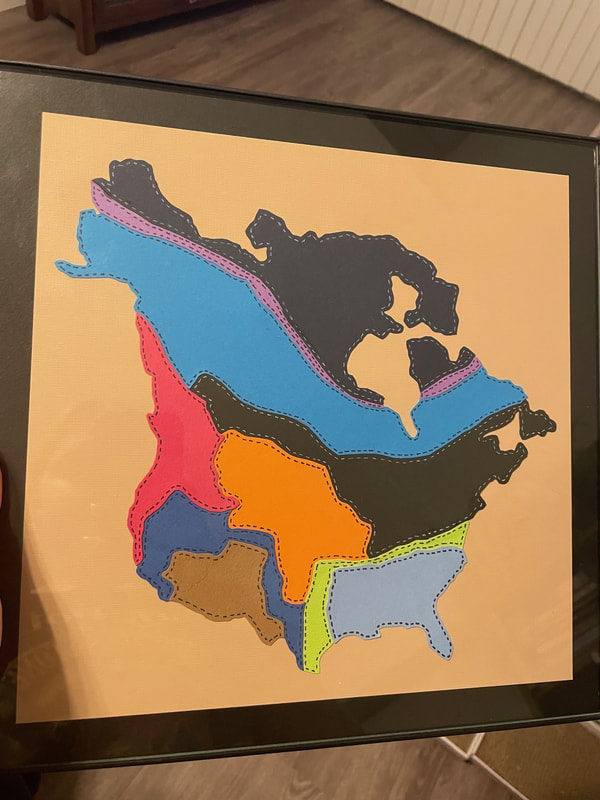 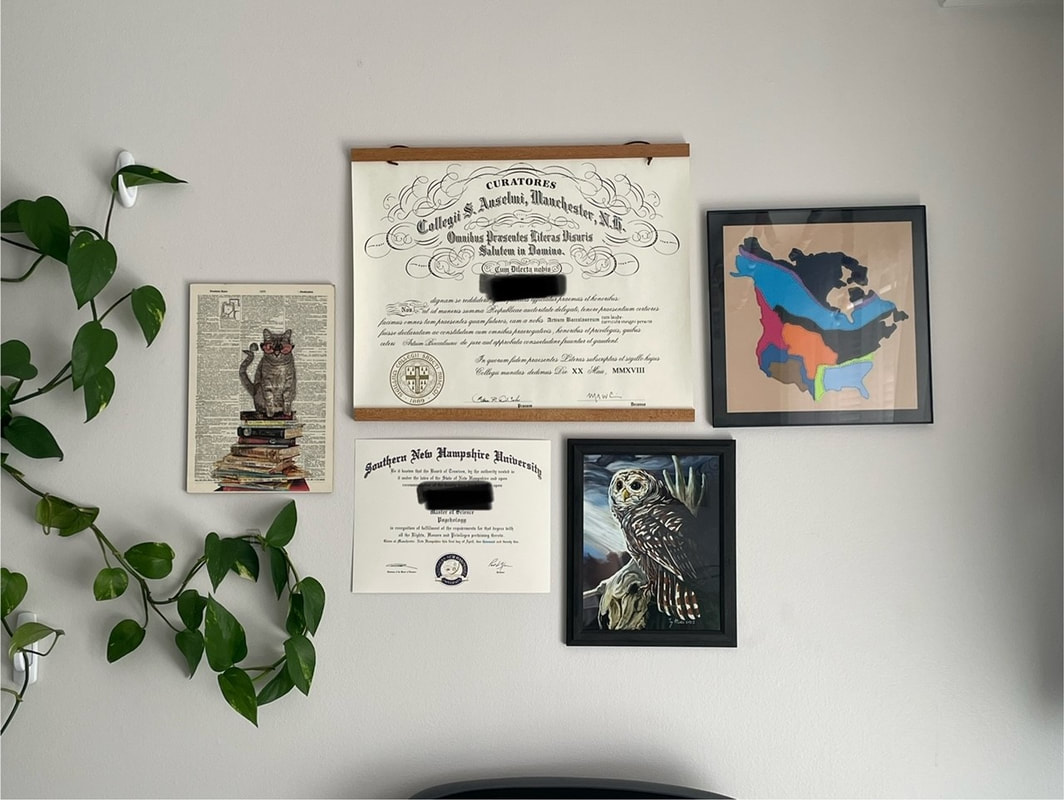 I was feeling like doing something crafty but also low stakes and this was a great way to spend an evening! I got everything done in a few hours and felt like it satiated my desire to make something. Let me know what you all think in the comments below!
- Rebecca P.S. Today's photo on the homepage is from Pexels user Andrew Neel: www.pexels.com/photo/assorted-map-pieces-2859169/
0 Comments
Leave a Reply. |
AuthorI am a 27-year-old crafter and baker from New Hampshire! Archives
July 2024
Categories |

 RSS Feed
Proudly powered by Weebly