|
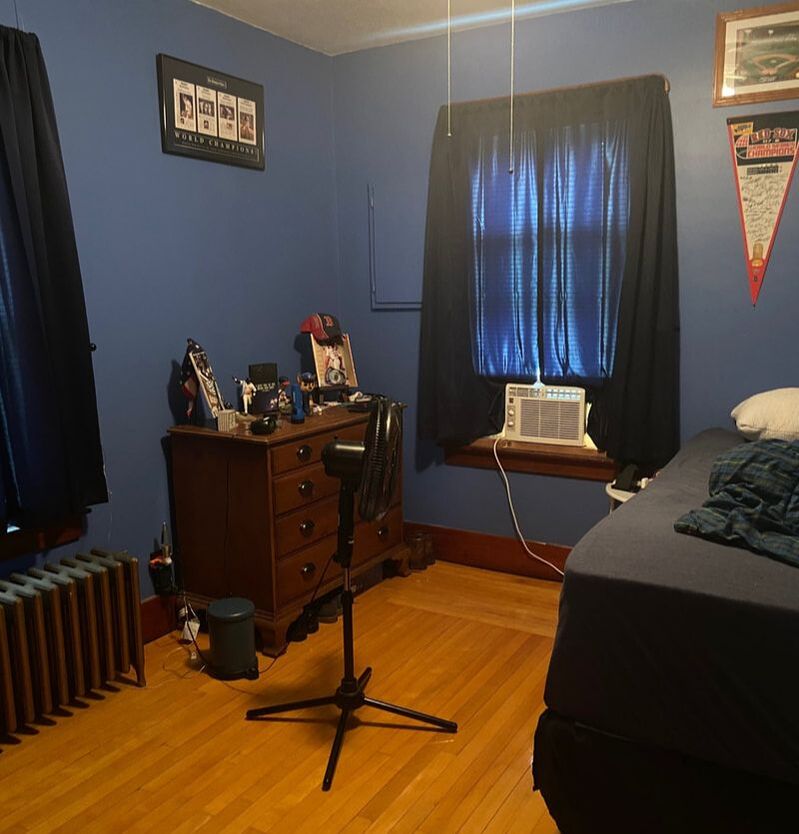
Hello friends! So I have been showing you some projects that were part of my recent bedroom makeover, but today I will share a little overview of the whole makeover process. To start off, here is my fiance and I's bedroom pre-makeover:
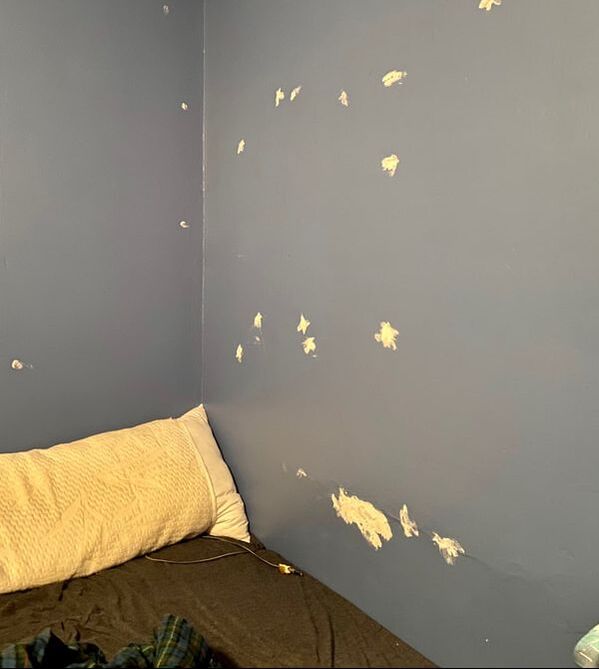
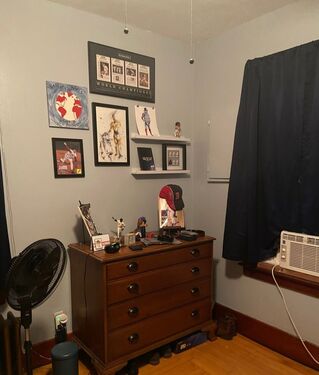
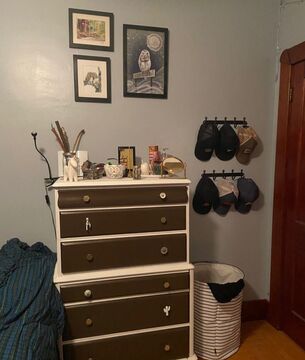
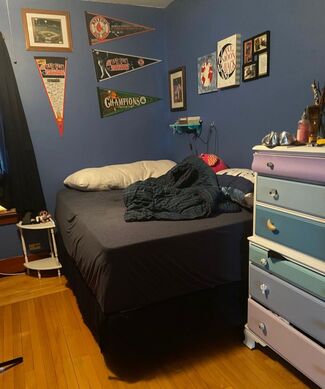 There was nothing really wrong with the room, but it just felt like Sean and I had put all the things from our teenage bedrooms into one room. Which honestly was basically all we did when we moved in. The room didn't feel like it had grown up with us. We also were beginning to seriously regret the darker blue color we had painted the room. We still liked the color, but it made the room seem so dark and small, especially since we almost never open the curtains in the bedroom. So first step was taking everything off the walls, sanding and patching holes and slapping some fresh paint on the walls.
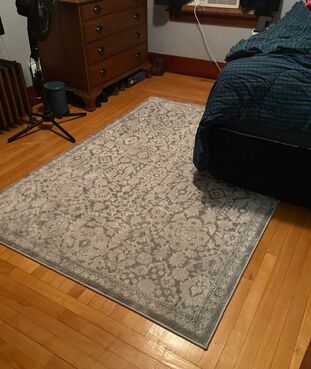
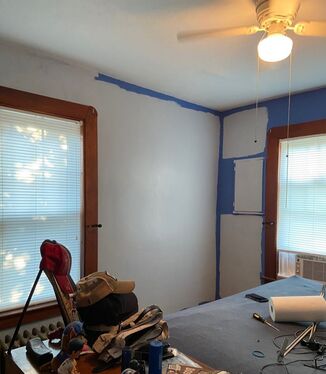
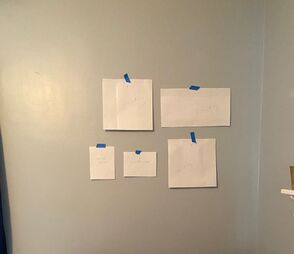
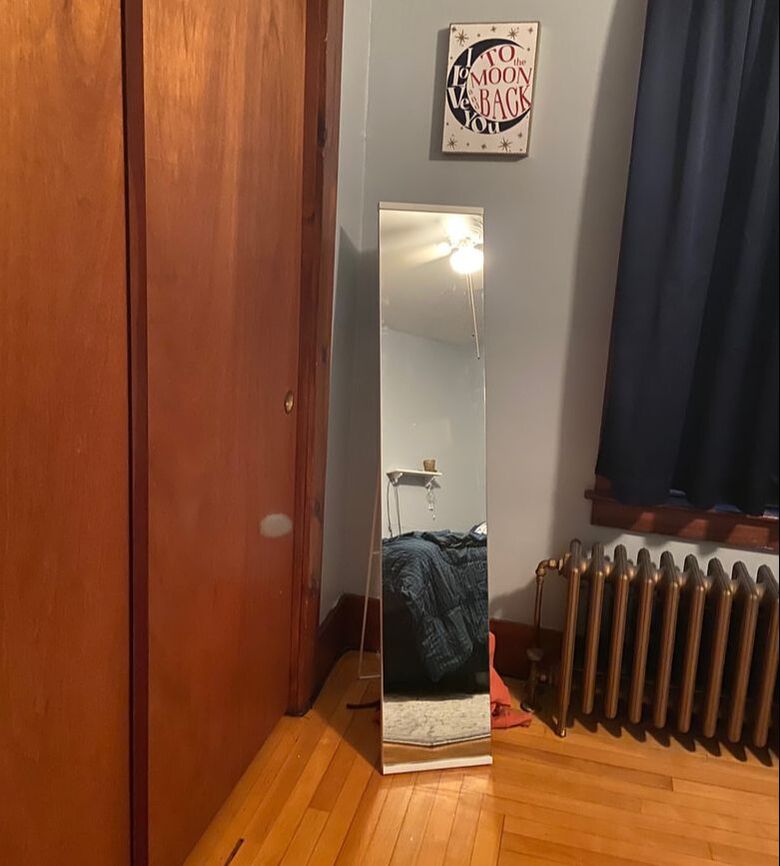
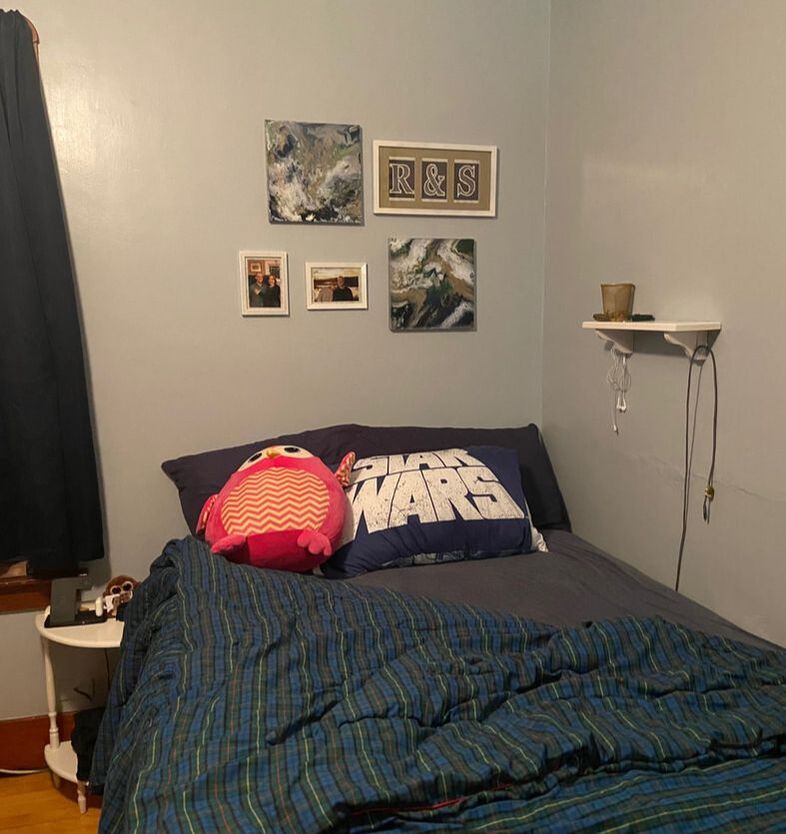
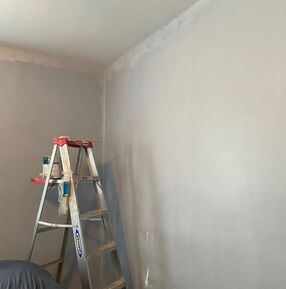 We went with a lighter blue-grey for the walls. We bought a paint-primer in one and ended up doing two coats to cover the original blue. It did not even take a full gallon! Another big project that was tackled for this makeover was redoing my dresser (see last week's blog for that project). I also updated my "side table" with a coat of white paint. As you may have seen in the pictures above, our bed is pushed against a wall, meaning that there is no room on my side of the bed for a table. Instead, I use a small shelf on the wall to hold my phone, books and charging cords. I gave the shelf some paint, added some command hooks to hold all of my cords and she was good to go! A few other changes that we made in the room were adding a rug and a freestanding mirror. The room felt like it lacked a bit of coziness without a rug. We ended up buying a rug that was honestly a little bit small for the room, but it still looks nice and adds the cozy factor that we were looking for. Previously we had a crappy old mirror mounted on the wall behind our door. I truly hated that mirror with all of my soul so we got a full-length standing mirror to place in a better spot in the room. Once paint was done, the last thing needed was really thinking about what was going to go back on the walls. We decided to have three little gallery wall areas: one above the bed and one each above my dresser and Sean's dresser. To make sure we liked how everything looked before committing to it, I used a trick that I got from a Youtube channel I watch, The Sorry Girls. When doing a gallery wall, they always trace out each piece of art on paper and mark where the bracket is. This way, the pieces of paper can be taped up on the wall and you can easily move them around. Then, once you like the placement, drill or nail directly through the paper. Rip the paper off and hang those pictures up! I would highly recommend this to anyway who wants to try a gallery wall. It makes the whole process much less scary.
One final little DIY craft to share with you before the final room reveal is this little chalkboard that I attached to the wall with Velcro Command Hooks. It hangs right next to our door and is a great place for Sean and I to leave notes for each other! 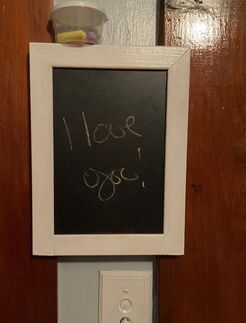 And here are some pictures of the finished room!
 Spot the acrylic pour paintings from a previous blog above the bed! What do you guys think? It may not seem like a huge transformation, but the room feels much cozier and relaxing now and we are both so happy with it. Give me your thoughts in the comments below!
- Rebecca
1 Comment
Momma
8/13/2020 08:38:40 pm
I think it looks snazzy! Leave a Reply. |
AuthorI am a 27-year-old crafter and baker from New Hampshire! Archives
July 2024
Categories |

 RSS Feed
Proudly powered by Weebly